Showing posts with label steampunk. Show all posts

Friday, 28 April 2023

Scrapbook page layout with Funky Fossil Steampunk Cat stamp and stencil

Dear Reader

I designed the stencil below so that it was easy to repeat.  You just overlap the footprints from the previous "print" and off you go.  
This is what I did to create this background for this 12x12" scrapbook page.  I trimmed it down so that it could have a nice mat to frame it.
I then masked off the little fish and footprints so that I could create a frame for my photograph.
Next I prepared the stamped images which I cut out on my Brother Scan n Cut and made a shrink plastic charm too.  The wooden gears were sprayed with black soot distress oxide spray.  I cut the square die cut in half to create corners.
Next, I layered everything up and stenciled on the photo


I love a bit of texture and dimension.


Sunday, 23 April 2023

Steampunk Cat Mixed media canvas


Hello dear Reader

Welcome to the first project made with my new range of stamps, stencils and papers!

If there is a link with a line under it, click on it to take you to the product on Funky Fossil's website.

This is a 12x12" canvas that I covered with the 8x8" papers called Engine Room by Funky Fossil.  The pealed paint page in the middle is a full sheet and then I cut the purple one in 4 to fill the sides and the tread plate into quarters to go in the corners.  I inked the edges of the paper with Black Soot Distress ink.
Next I worked out where I wanted the Laser cut gears.
I stamped the cat from Steampunk Pets into some Hearty Clay, tore the edges, curled them over and let it dry.  Then I added Distress Oxide spray in Brushed Corduroy and filled in the line work with black paint.  When that was all dry, I rubbed gold wax over the top to bring out the details. (I was having so much fun doing this that I forgot to photograph the step out progress - I will have to do a whole post on this process another time)
I sprayed the wooden gears with Black Soot distress Oxide and let them dry.  Once I glued everything in place I added glossy accents where I wanted the giant micro beads and then finished off the gears with the half pearls in 2 sizes.
I also added some black soot distress to the edges of the clay.
Below is the finished canvas where you can see that I used the gears mask with black soot distress ink on the 4 purple pieces to add extra interest.


Sunday, 21 August 2022

Steampunk Cuff for Mitform Castings


It is my turn as a Creative team member for Mitform Castings to inspire with a project.  I am off to the UK for a 4 day Steampunk event called the Asylum and I needed some accessory pieces to finish off an outfit. My inspiration was my vintage style compass and sun dial, purchased at the Vintage Market which I "MacGyvered"  from a table top version into a watch.  

I took a cuff I had purchased and traced the pattern off it, then added holes with Eyelets and ribbon so I could wear it. 
I started by asking my hubby to drill holes in the steam gauge so that I could rivet it on.
Then glued and riveted everything else on as well
I punched holes in the leather and used my rivet setter to anchor pieces in place.
The clock hands through the 1/4 gear were too tall for my rivets, so I used a nut and bolt to hold them on.

The links to the products used are here:
https://www.mitform.com/produkt/mitform_set_corners_3/
https://www.mitform.com/produkt/mitform_set_clock_2/
https://www.mitform.com/produkt/mitform_set_clock_4/
https://www.mitform.com/produkt/mitform_set_scale_1/


Tuesday, 9 February 2021

Diysil Art is the Design team member posting for today


Dear reader

Today it is Silvia's turn to inspire you with this gorgeous travel journal cover that houses two books inside.

I love the layers that were created with these cut outs from the back of the paper pad.  To keep the Lady Vagabond separated from the background, she carefully cut her out with a white boarder.


The two books are held together with cute little clips


Thursday, 4 February 2021

Olga Heldwein's boat using Lady Vagabond papers


Hello Vagabonders Olga here !!!


Today I have for you quite challenging project . I fell in love with one of the constructions on the Stamperia hop by Magdalena KarasiÅ„ska and wanted to tackle the topic. The conversation between Ms Vagabond and Teri on Stamperia cafe pushed my idea even more.

"Where is Lady V house and how it would look like ???"
In the collection you can find one of my personal favorite papers  -  the houses. I cut out all those houses and rearrange them (in my opinion) into the perfect house for Lady V. Its eclectic and fancy and its on the boat so she can travel in it !!!
To make this happen I have used cheap recycled chipboard as base and ton of cut outs from collection. All decor is from matching moulds and beautiful papers.

Thursday, 28 January 2021

Tamar Perry creates a mixed media canvas with Lady Vagabond


Dear readers

Today I have the story from Tamar as to what inspired her to create this large mixed media panel of multiple items assembled together... called

 “Glimpses of NY”

As you know, New York is the home of Sir Vagabond, and also the home of the creator of this piece *wink*

From the outside, New York seems shiny to dreamers but to the locals it is dirty, dark, busy and very grey.


In her travels, Lady Vagabond only read about this great city, but when she finally arrived in her flying house to New York,  all she could see from above was the grey blanket of smog that covers the city, and she could barely catch glimpses of it through the cracks in the industrial cloud of what is one of the greatest cities in the world. 

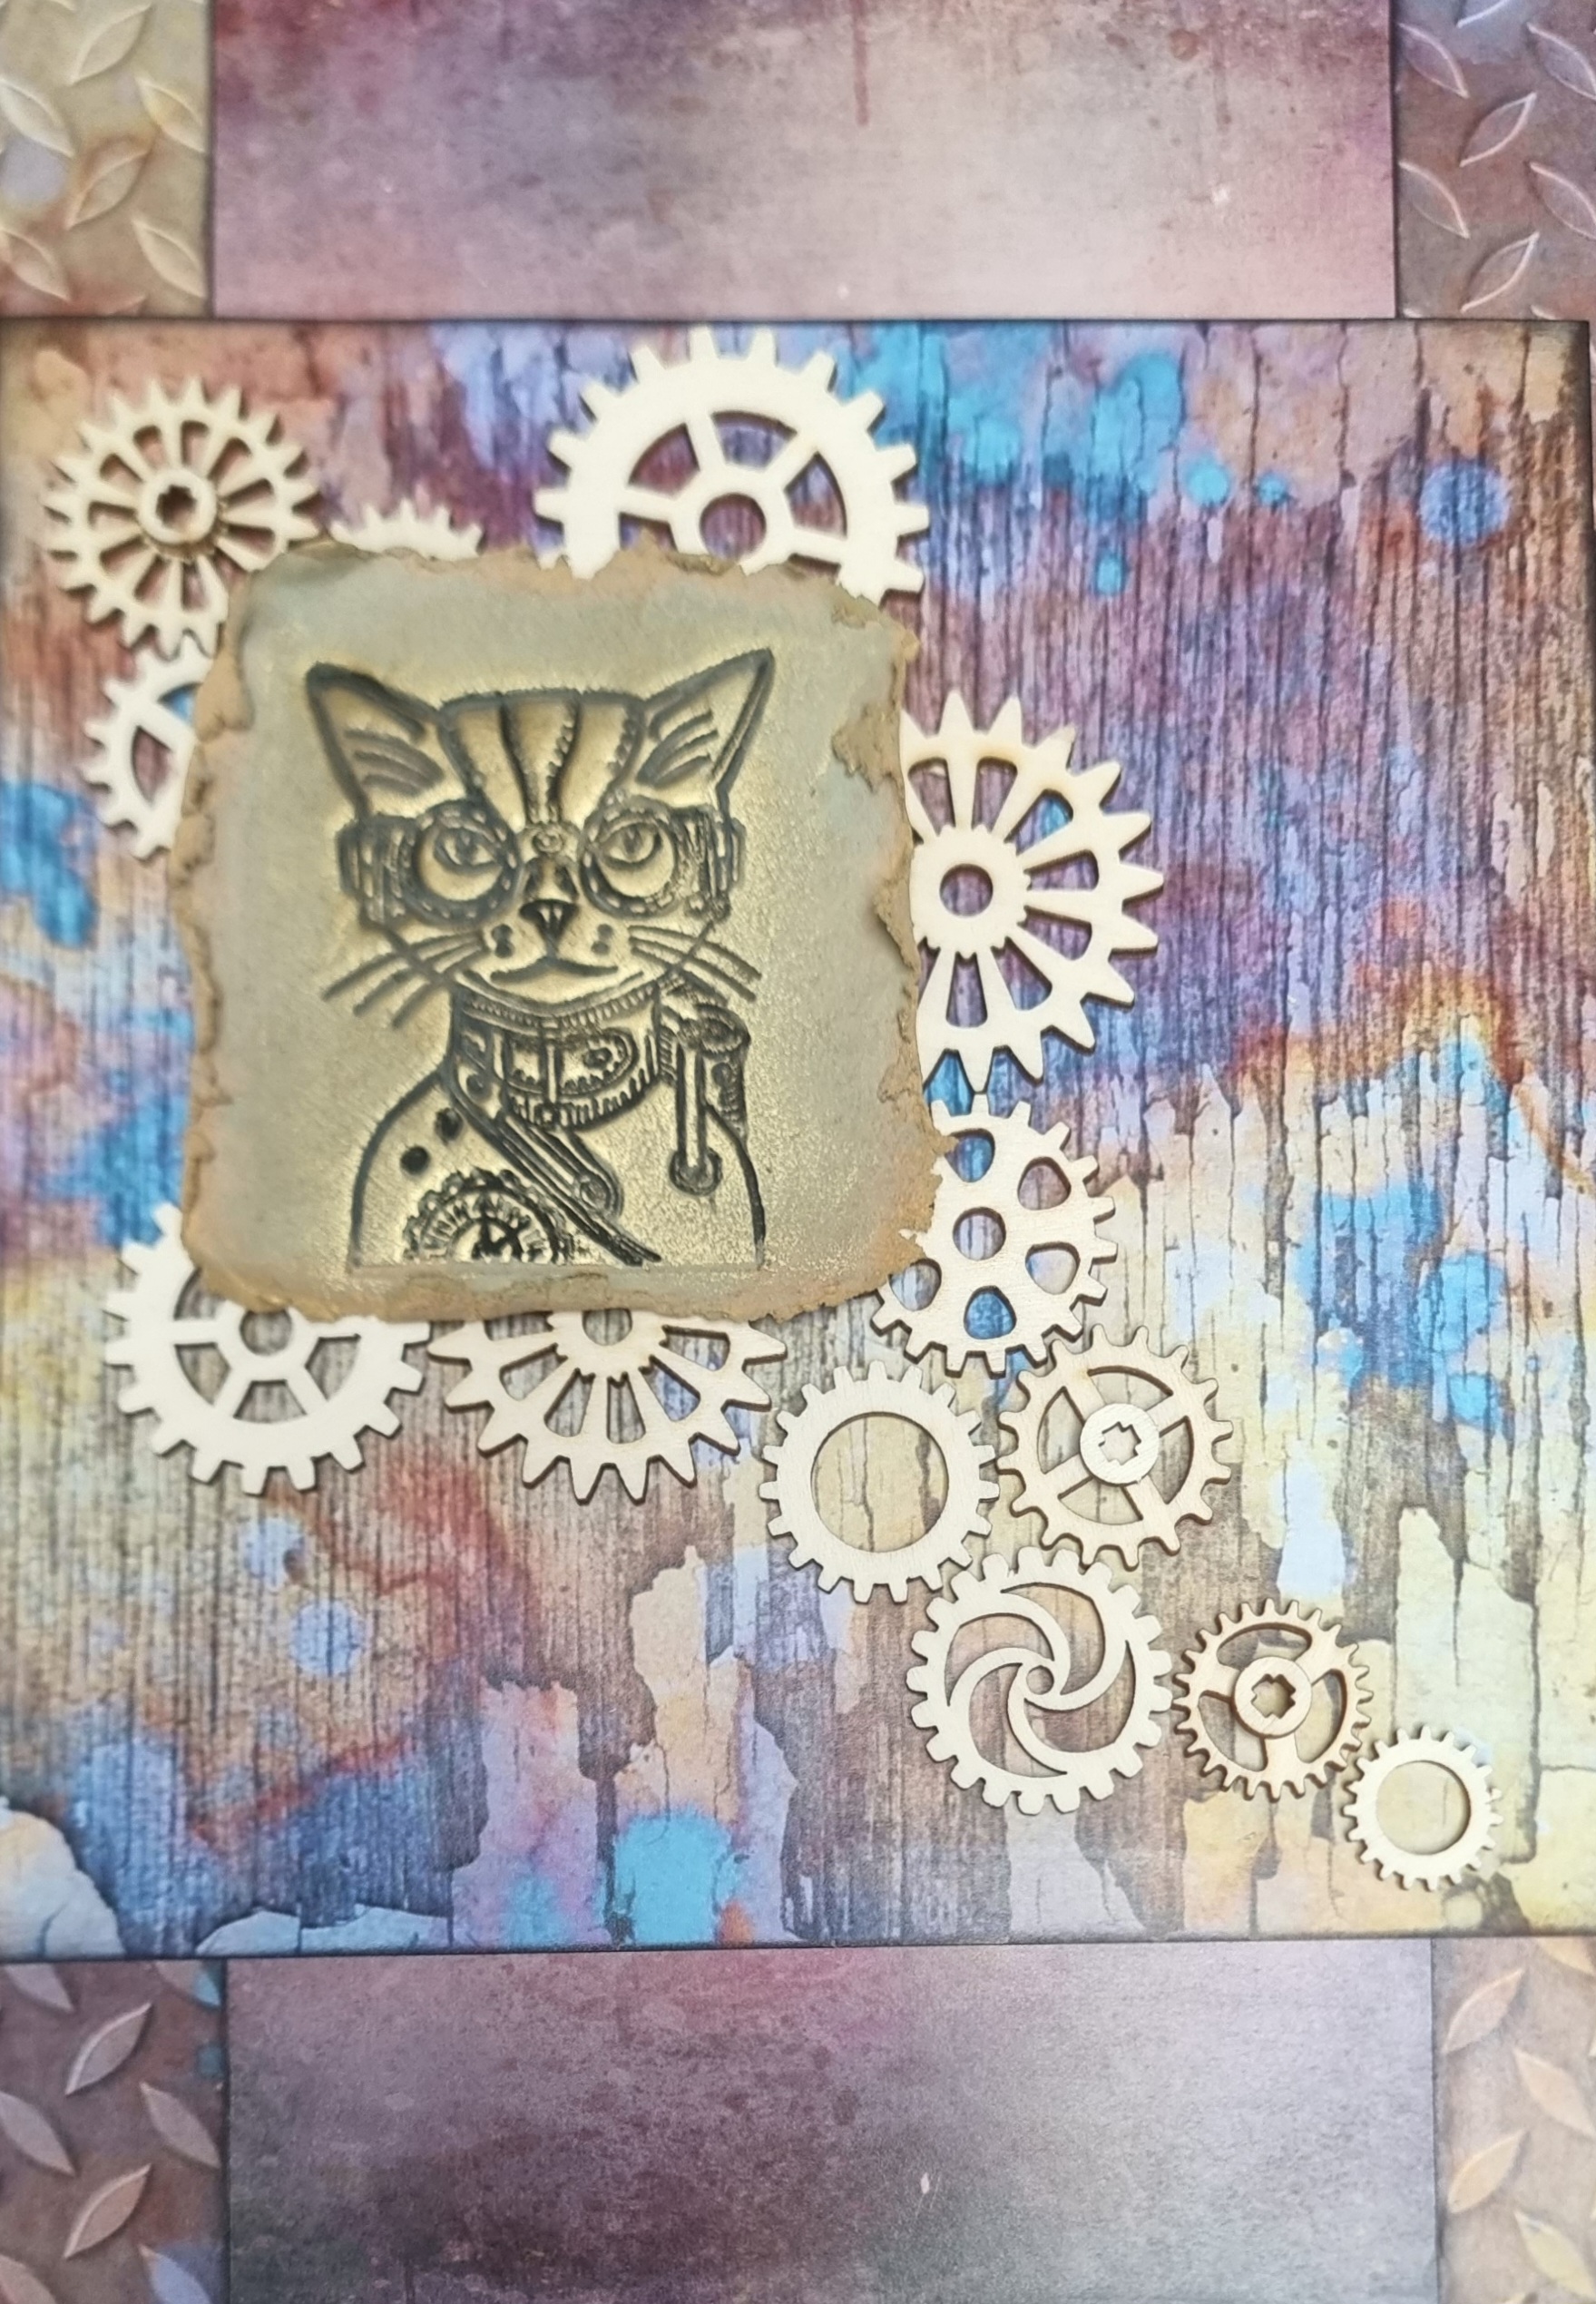
To make this piece I used pieces of chipboards from my stash of leftovers, in various sizes.


I treated each one as a separate substrate, and crated mini pieces of art – some with rice paper, some with paint, some with stencils or stamps, or a combination. 


When all the parts were finished I assembled them together and attached them to each other.


Using the the molds that illustrate Lady Vagabond's world, I gave the flying machine bigger wings because this is New York and everything is bigger here, however one of its wings is a bit 'damaged '– as it was a long way to come from London though all weathers over the ocean.


I added the molds spread out over the assembly and not on top of each other to illustrate the glimpse from Lady Vagabond world hovering over the glimpses of New York.  The only colorful components in this piece are Lady herself and her books in which she can let her imagination take flight!

Regards

Tamar Perry


Tuesday, 26 January 2021

Design Team member Disorganised Crafter for Lady Vagabond


Dear Reader

Today it is Nikki's turn (AKA Disorganised Crater) to show off her skills with the Lady Vagabond line...

She has used stone paper by Stamperia to create this amazing backpack bag.

If I didn't know it was paper, I would have thought it was leather!  Quite mind blowing!

I love how she incorporated the moulds on the flap and the straps as well as the handle and even the Supervisor has a spot on the tag!


The inside of the bag has been lined with the A3 ricepaper!  


I love the gears she has added on the shoulder straps as details