Here is the opening page with David's face printed onto dictionary paper and gelled onto the page with Distress paints over the top followed by archival ink stamping and then I used a Poska white marker to play round the edges and do my signature.
Saturday, 18 October 2014
Finished Art Journal Pages
Wow, for the first time in 2 years my class ran over by 1 whole hour and a bit! I normally finish BANG on time with a few minutes of shopping time to spare! It got a little stressful at the end, with everyone trying to finish their pages, but hey, they did a marvelous job. I talked too much at the beginning of class, but then I had never taught art journals before and tried to teach more than 3 hours could hold! Talk about a learning curve! I had planned an hour a double page and half for the front page allowing me half an hour to talk...Going to have to re-work that!
Here is the opening page with David's face printed onto dictionary paper and gelled onto the page with Distress paints over the top followed by archival ink stamping and then I used a Poska white marker to play round the edges and do my signature.
This page theme was taken from Vicky Papaioannou's Blog but the base technique was completely different and I pre-cut the cups on my digital paper cutter, added a cupcake to the stack and the title!
Again this theme came from Vicky Papaioannou's Blog but I did an entirely different base page technique using gesso through one stencil and Gel medium through another which got glued to the page with gel medium and then worked over with Distress inks and distress paints. The feather was a bought stamp and the dream catcher worked from the Martha Stewart circle punch design.
Here is the opening page with David's face printed onto dictionary paper and gelled onto the page with Distress paints over the top followed by archival ink stamping and then I used a Poska white marker to play round the edges and do my signature.
Thursday, 16 October 2014
Take a Walk on the Wild Side Double Page Layout
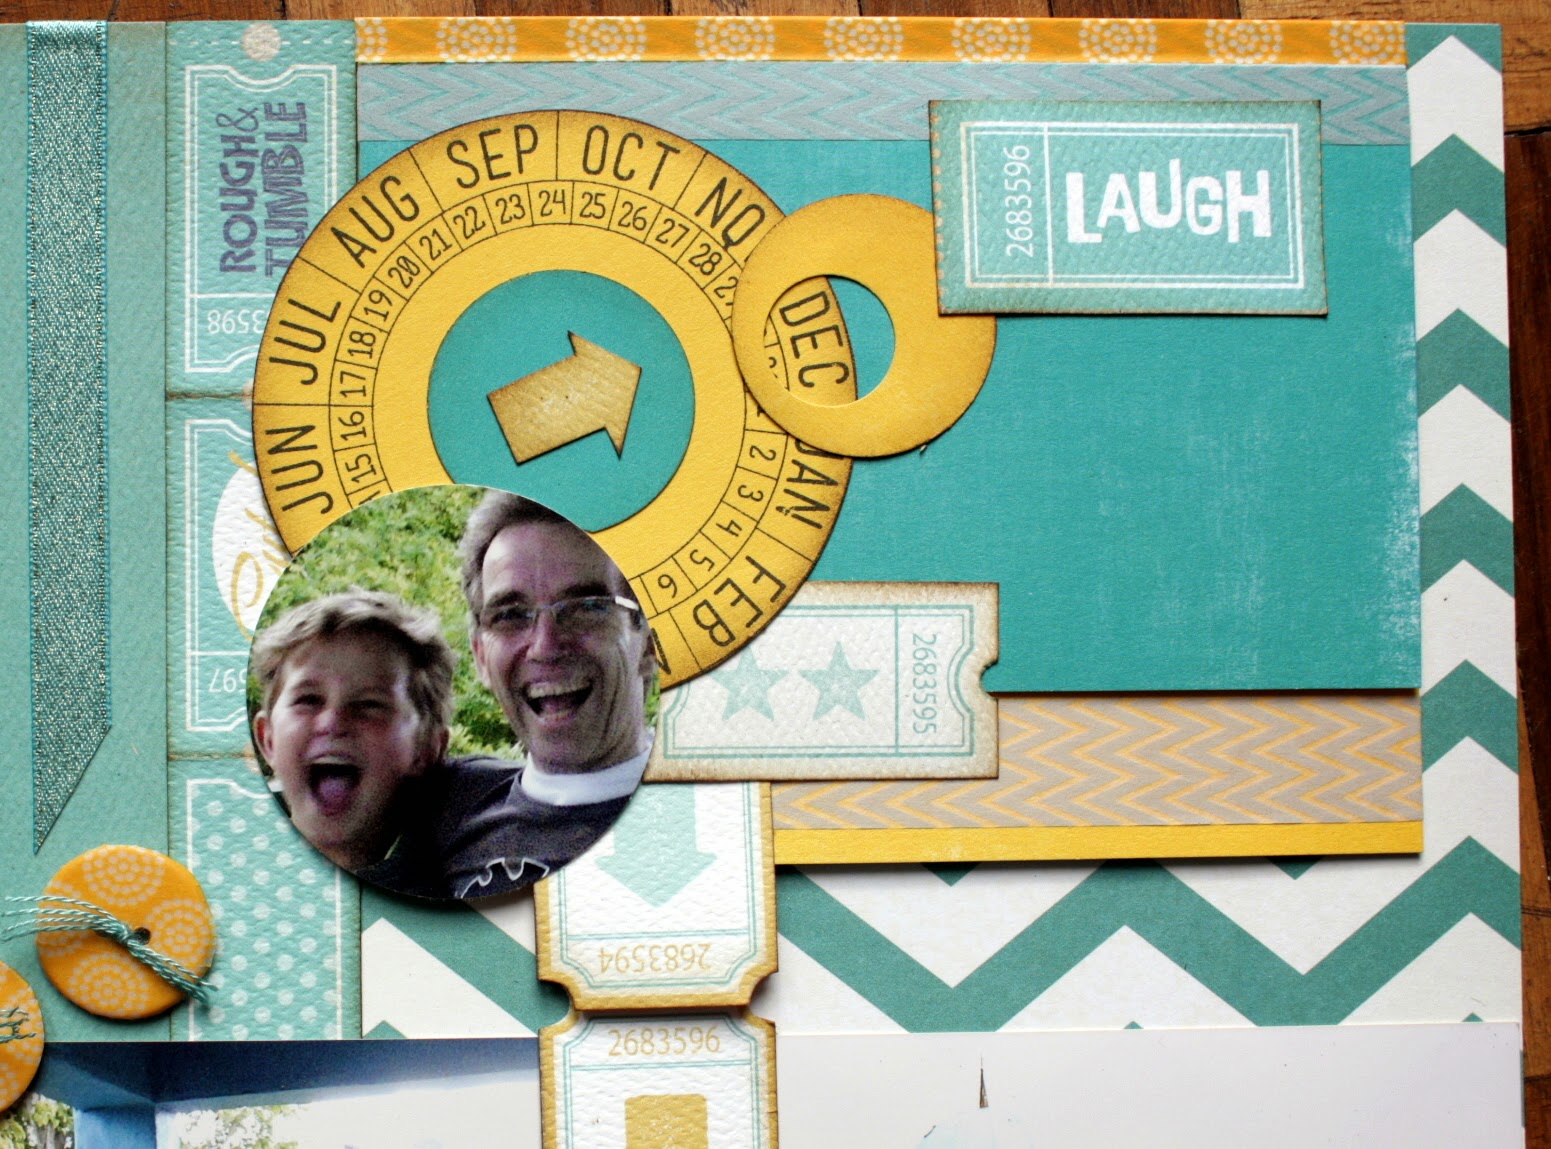
AT LAST! and yes I am shouting! I have finished this page! I have been working on it on and off for 2 months or more. This is the class I am teaching in the first week of November. I know that sounds a mile away, but I have to let my students know what to bring and what photos they will need. I still have to kit it up and it will be my son's 10th birthday party the night before I teach this class, so no time for last minute dot com!
I have used alphabets that had multicoloured letters and painted them using Distress paint. This is the easiest way to neutralize colours.
Then I have made an extra flap up section that can go over the sleeve of the album for those notes or journalling to be read later.
I have used alphabets that had multicoloured letters and painted them using Distress paint. This is the easiest way to neutralize colours.
Then I have made an extra flap up section that can go over the sleeve of the album for those notes or journalling to be read later.
This is the front of it
Then one page down and below, the base page
I have used washi tape on the buttons to make them match the rest of the page. This stuff is just the best! It is so versatile. This pattern lines up so you can make repeat pattern sheets from it too!Wednesday, 15 October 2014
What's on My Workdesk Wednesday 280? Double page layout
Hello fellow desker from Julia's place over at Stamping Ground. Welcome to my desk in Cape Town, South Africa.
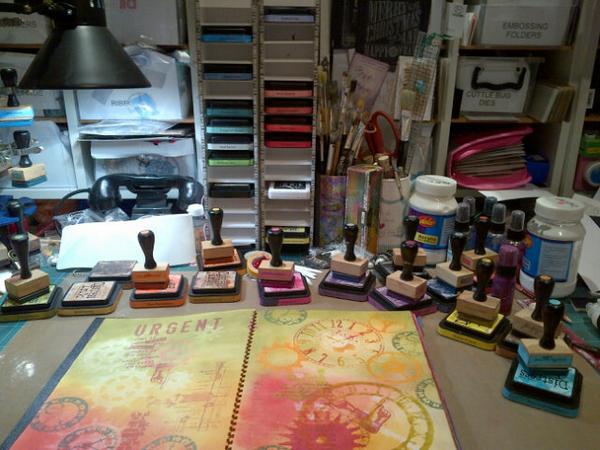
Here is my desk in all its designing glory...this page has been 2 months in the making and it needs to be ready for the first week-end in November! Why is it that some pages come together like a dream and others feel like they are never going to amount to much? I keep taking it out and playing with it and perhaps finding another gem of an idea I can add and then putting it away cos it just does not have the "wow factor" yet! Now it is staying on my desk until it is finished!
I am teaching Art Journals this week-end and that class thank goodness is planned, prepped and kitted! PHEW!
Here is my desk in all its designing glory...this page has been 2 months in the making and it needs to be ready for the first week-end in November! Why is it that some pages come together like a dream and others feel like they are never going to amount to much? I keep taking it out and playing with it and perhaps finding another gem of an idea I can add and then putting it away cos it just does not have the "wow factor" yet! Now it is staying on my desk until it is finished!
I am teaching Art Journals this week-end and that class thank goodness is planned, prepped and kitted! PHEW!
These are the base of each page and the cups will be going on the one above it, an idea I got from Vicky Papaioannou's Blog where she gives an awesome video on how she created her page. I have created a cut file for these cups as I need to kit for 10 people who I know wont be able to draw and make their own cups like she did. So I have used her concept, but my page will look very different. In order to teach the techniques, I have prepped my journal and finished the right hand page so I can demo the left hand page in class.
At some late stage on Sunday...this is what my desk looked like while I finished sample pages in my journal to show class...nearly every ink on my desk!
Monday, 13 October 2014
You are My Sunshine in the rain Double Scrapbook Page
First I used Spiced Marmalade through the rays stencil and then I shifted it off and used the Peacock Feathers inbetween...it takes some fiddling, but it kind of fits itself in reverse and so you can add a second colour without making a mess all over your first colour. I then added Spiced Marmalade where the sun ball would be.
After doing the sun, I inked peacock feathers all along the bottom of the page and using the same ink, I stamped the droplets in a repeat pattern.
I used my eCraft (like a Silhouette) cutter to cut the You are my Sunshine in the Rain and diecut Tim's Umbrella man all from black card stock.
In order to be able to mat all 4 photos from one 12" x 12" sheet, this is how I lay them out.
Saturday, 11 October 2014
Saturday Night Fever exploding box card
This card was for an order for one of my student's granddaughters who was having a Saturday Night Fever party.
I Googled to see what sort of images were used for the show and made the card as the exploding box type so that it was like a dance floor.
The background with the mirror ball and her name were printed out and added to the backdrop. I cut the dancing people on my silhouette and put them on the different layers so they look like they are on the dance floor.
I Googled to see what sort of images were used for the show and made the card as the exploding box type so that it was like a dance floor.
The background with the mirror ball and her name were printed out and added to the backdrop. I cut the dancing people on my silhouette and put them on the different layers so they look like they are on the dance floor.
It was really fun to make, I hope she liked it!
Friday, 10 October 2014
CC3 Challenge 12: Photo Tinting.
Challenge 12 over at Linda's place is Distress Photo Tinting. You can find all the instructions in Tim's book CC3 on page 41.
This is a photo from Tim's blog...one he used a few years ago for a tag which I downloaded and saved to my PC. This is a good thing as the photo of my Gran aged 4 did not work so well because the colours were much softer and there wasn't enough detail to colour in! I had a lot of fun making this tag and am entering just under the wire for this challenge!
Because we are on on even challenge the sponsor for this time is The Funkie Junkie Boutique and they give a voucher to the value of $25! How generous of them! Then of course there is the prize sponsored by Tim and Mario for the item chosen by the Inspiration team! You gotta be in it to win it! Come join the fun!
Tuesday, 7 October 2014
What's On My Workdesk Wednesday 279? Buck!
Well fellow Desker...instead of playing with the DIY straws as I had planned last Sunday...we went to see my Brother in Law who lives 2 hours drive away up the West Coast. There we had the pleasure of getting close to some of our local wildlife. My BIL moves wildlife from farm to farm and country to country for a living. This little Gemsbok is being hand reared after he was orphaned at birth and is now 3 weeks old. Here he is sucking on my finger while waiting for his bottle to be warmed!
This is my DH keeping him busy while he waits for his bottle. Below is a photo I took off the web of what he will grow into! In the top photo you can see his magnificent horns have already started to grow!
So this my dear friends is why I have nothing to show you on my desk! Perhaps I will have a go at making something this Sunday.
Monday, 6 October 2014
Bells are gonna chime!
Do you remember the game we used to play using our hands where you link them together and say in a sing song voice:
Here's the door and there's the steeple, open the doors and here's the people?
Well, this card makes me think of that from my childhood!
I invented this card as an order for one of my students a few months back and feel I can blog it now as the couple must have it...
This card is based on the exploding box card that is now everywhere on Pinterest! The only difference is that the roof folds in instead of out and I have a slot in it with an opposing tab so that it stays shut! Here it is above and below flat like as it goes in the envelope.
This is the back of the church where you can write your message. I used an Upikit punch to make the roof boarder.
Above is the view through the roof of the couple taking their vows.
The roof closed.
The front view of the church.
Side view with the doors open so you can see the people! I used a Christmas bell ornament for the church bell!
Thursday, 2 October 2014
Tim's 12 Tags of 2014 - October
I don't celebrate Halloween as it is not really done here in South Africa, though we copy what America does a lot, this is one thing that has not taken off in a big way here, the kids on the other hand like to go round and get a few sweets if they can off unsuspecting and unprepared neighbours!
As you can see above, I am in the throws of planning to redo all the tags so far as Christmas ones and so I decided to go right ahead and just make this Christmas to start with!
I don't have the distress stain sprays yet, so I made my own in mini misters. It worked quite well. The masked embossed stamping is almost all covered up under the greenery, but as Tim said in class once...I know in my heart it is there! Also I am out of texture paste, so I used gesso and it resisted the colour a lot more than the paste would have....overall I am happy though. It is quite festive.
Wednesday, 1 October 2014
What's On My Workdesk Wednesday 278? Christmas Tags
Hello fellow Desker!
A few nights ago I decided to start working out what I will need in order to make Tim's 12 tags of 2014 as the 12 tags of Christmas. Today is the 1st of the month, so I will be able to add that tag to the list too.
You can also see some of the DIY straws I bought at a home shop to paint up and steampunk for a canvas...watch this space, that is happening on Sunday!
A few nights ago I decided to start working out what I will need in order to make Tim's 12 tags of 2014 as the 12 tags of Christmas. Today is the 1st of the month, so I will be able to add that tag to the list too.
You can also see some of the DIY straws I bought at a home shop to paint up and steampunk for a canvas...watch this space, that is happening on Sunday!
Subscribe to:
Posts (Atom)