Sunday 20 October 2019

Steampunk Finnabair Canvas with Mitform Castings metal embellishments


I recently won a parcel of Mitform Castings metal embellishments on an Instagram post.  So I have been plotting to create a project worthy of their use!  You know what it is like when you have something precious... You keep it for THAT special project that never comes around...

To avoid these delicious metal pieces from forever living in a box I created a canvas just for them!

I had also recently been to a craft expo here in Berlin and purchased some Antonis Tzanidakis stencils and wanted to use them too... they were all shiny and new... still in their packaging!

Coming from South Africa where post is not the most reliable way to receive anything (think affirmative shopping)  ie Theft...  Online shopping is not a thing...

Having recently moved to Europe, I can now shop on line and know that the stuff will arrive in one piece and on time!  So I had purchased the Finnabair moulds with the wings and the cogs last month and needed to use those too...

With all these exciting new "toys"  I spent the day in my studio yesterday blissfully creating away!

My inspiration was this project found on Pinterest by Antonis Tzanidakis:  I loved his colour usage here
"Adventure" New adventures in your life are always welcome..anyway what we could do without that..☠️☠️ New materials, new techniques and ideas..and as always Dusty Attic chipboards.. New class for 2019

Here is my project:


I started with a black canvas 30x40cm and stenciled the design in the background with Wendy Vecchi texture paste in black.  When this was dry, I set about designing my layers of Mitform Castings metal embelishments and the Finn items I had moulded with poly urethane.

Once I was happy with my design, I glued it all down and sprayed the whole canvas black with matt black spray paint... I like this option as it does not leave brush marks and gets into and under all the the grooves of the various layers.

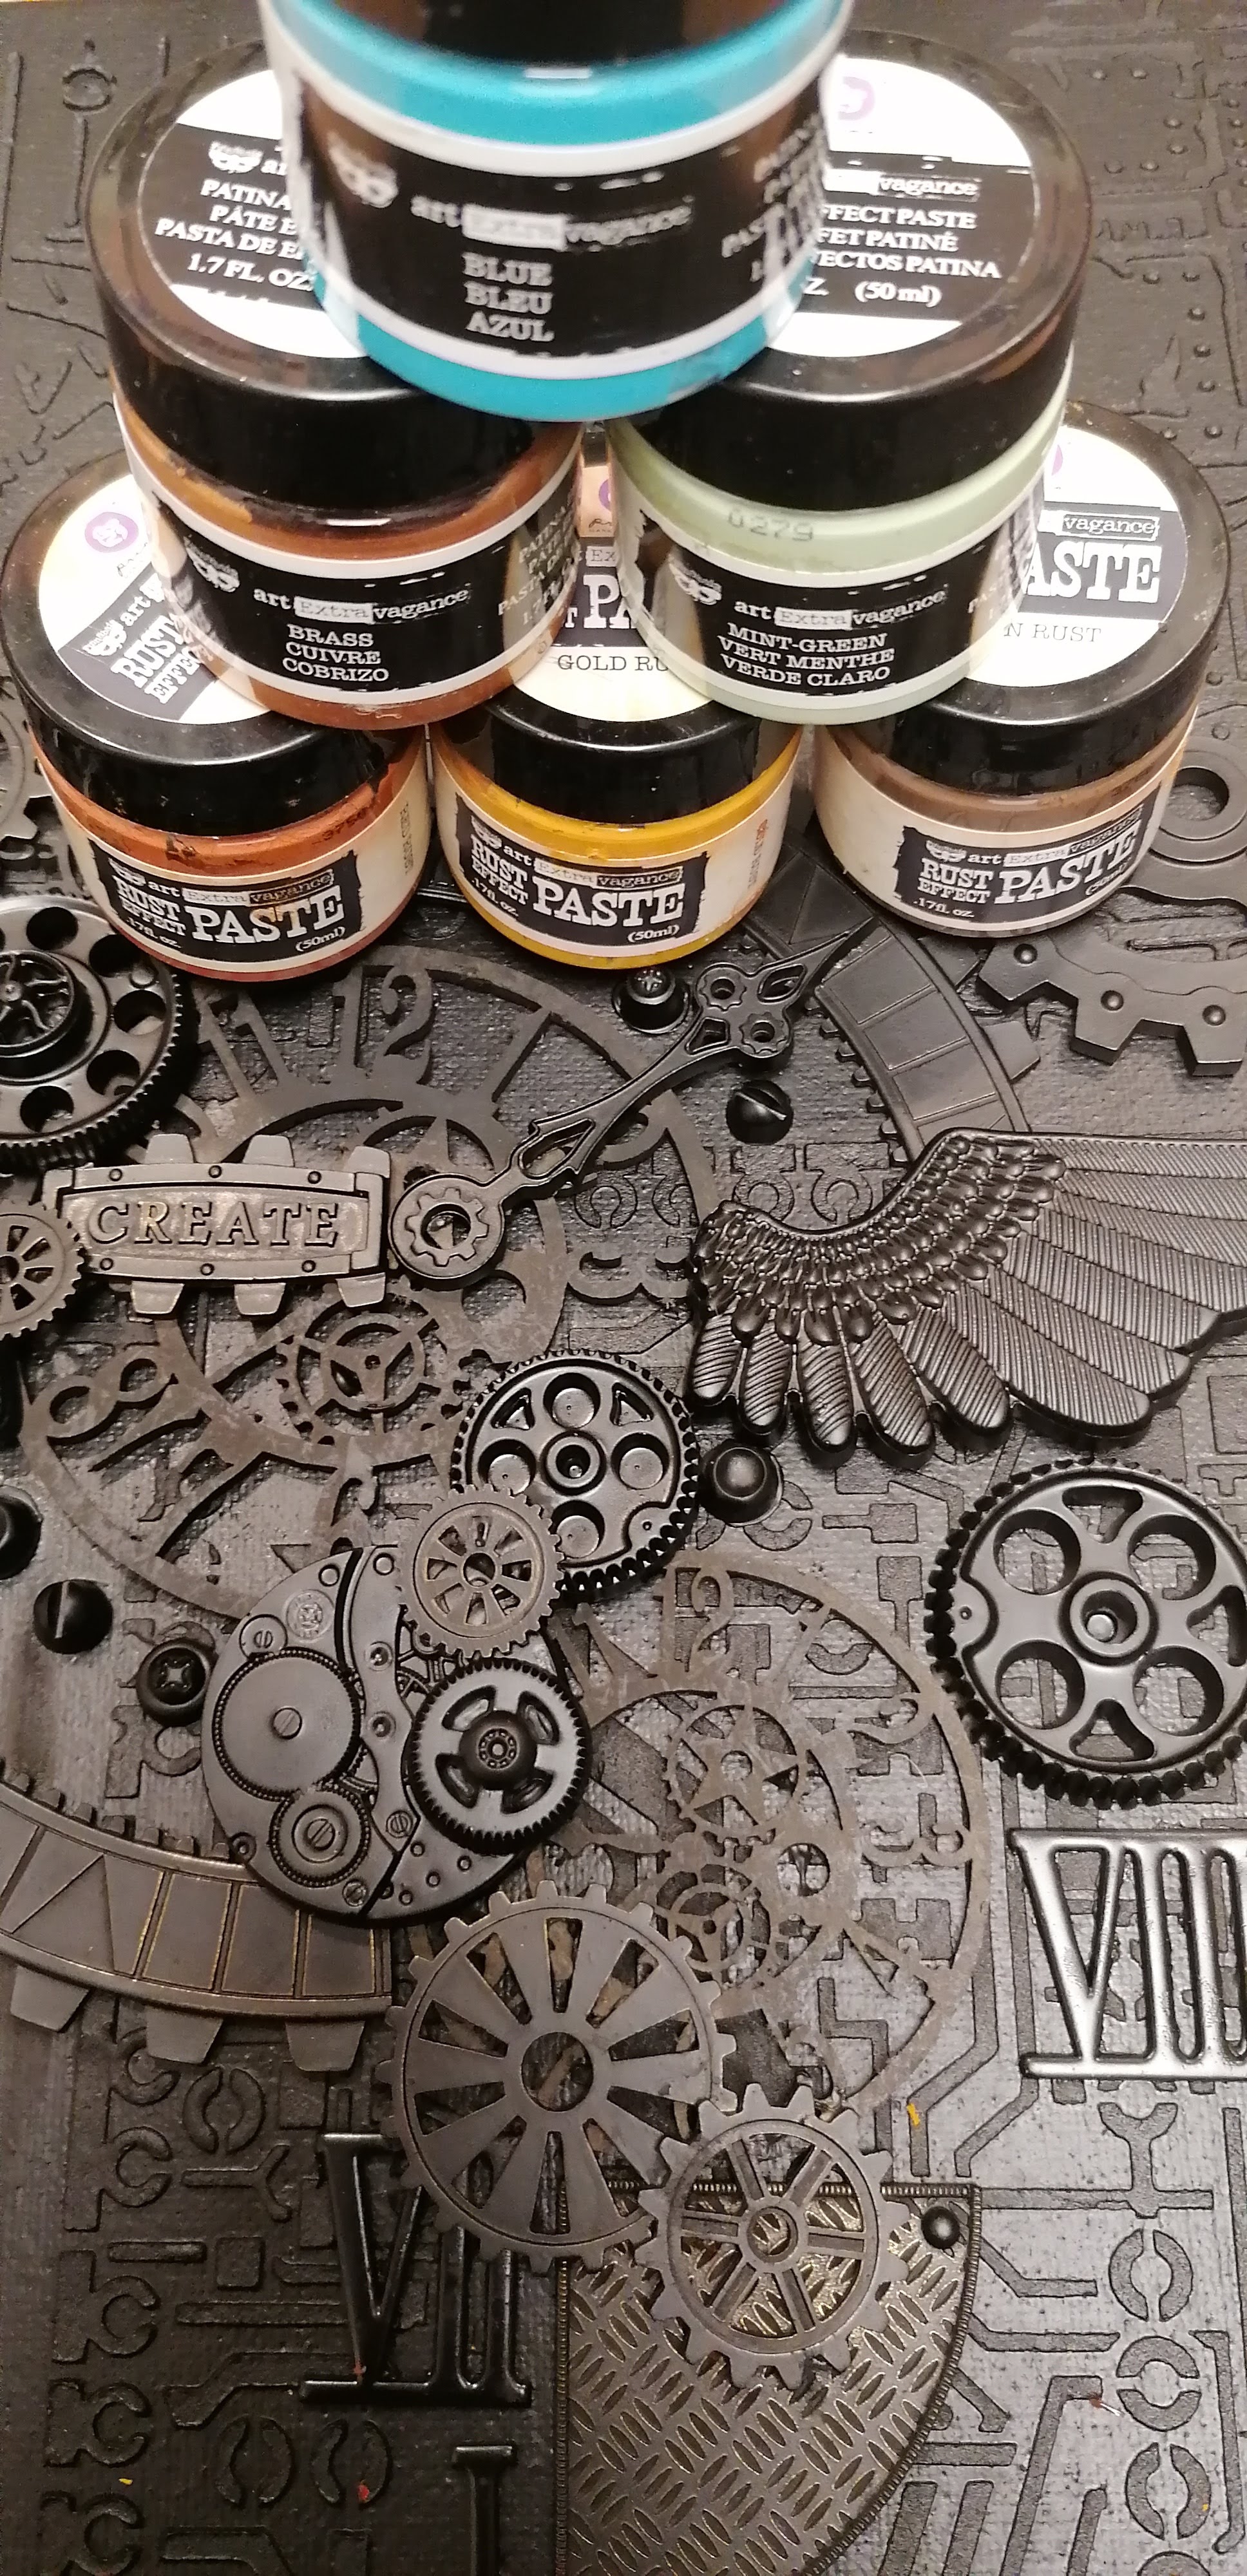
I took out the Finn paint sets for rust and Patina effect pastes as well as her Ginger Magic Sparks acrylic paint.  For some deeper colours, I used some normal acrylic paint in Indian red oxide, burnt siena, umber and black.


Above, you can see the first layer of burnt siena ... then I got engrossed in my project and forgot to take photos!

In the photo above you can see the turquoise is quite bright so I knocked it back a bit and added the sparks on the gold rust areas.


Finally I added some ginger sparks to some of the stencil work in the background to link the two as well as some turquoise in the metal embellishments and behind the objects, also as a way to join the foreground and background.


Thursday 17 October 2019

Frayed burlap distress oxide spray is addictive


I am totally in love with Frayed Burlap Distress Oxide Spray! (FBDOS) for future reference...

I sprayed a ton of things with this stuff and it gives such amazing results each time!

Below you see the finished tags, sprayed at the same time, on the same day next to each other on my craft sheet and they have a very different look.

I started with Finn's crackle paste through Tim's stencils and let that dry overnight.
I then sprayed them with FBDOS and added a spritz of water.
 You can see here how different they each are, the one below had far more blue on it when it dried.
I used my Dymo for the wording.

Decided on a wishbone for birthday wishes...

I drilled a hole using Tim's drill, seen above so that I could put a jump ring through it as seen below.

After adding Ground Espresso distress ink to the tags as well as some metal embellies and tissue tape with some stamped die cuts, I called them finished!

To make this tag more "girly"  I added some Finn Opal magic wax

Friday 4 October 2019

Steampunk Christmas tags


I used 4 Snip Art laser cut tags

Tim Holtz grit paste was pushed through a Unique Hobby Products stencil which I purchased at the craft fair recently.  You can go online www.hobbyproducts.nl to see what they have.

I scraped the grit paste on thinly so that I could level it with the top of the plastic of the stencil

I did an experiment with some rusting powder on the far left tag...

Being the control freak that I am... I did not like the randomness of the rust outcome...It did not match the other 3 tags in my set...
So I painted it to match the rest of the tags using Black, Ochre, Burnt Siena and Indian Red Oxide acrylic paints
I die cut green paper with the Festive Greenery die and painted some card stock gold using Finnabair's Vintage Gold Icing paste which I then die cut with Tim's Christmas Ribbon and Vintage Noel die.  The noel got run through the rivet die and I aged it with black acrylic paint.  I also cut 25 from the Christmas Bells die and passed it through the rivet folder and aged it to match the metal embellishments.

The gorgeous steampunk metal embellishments are from Mitform Castings and I added some Burnt Siena in the steam gauge to make it stand out a bit and relate to the background too.