Hi there
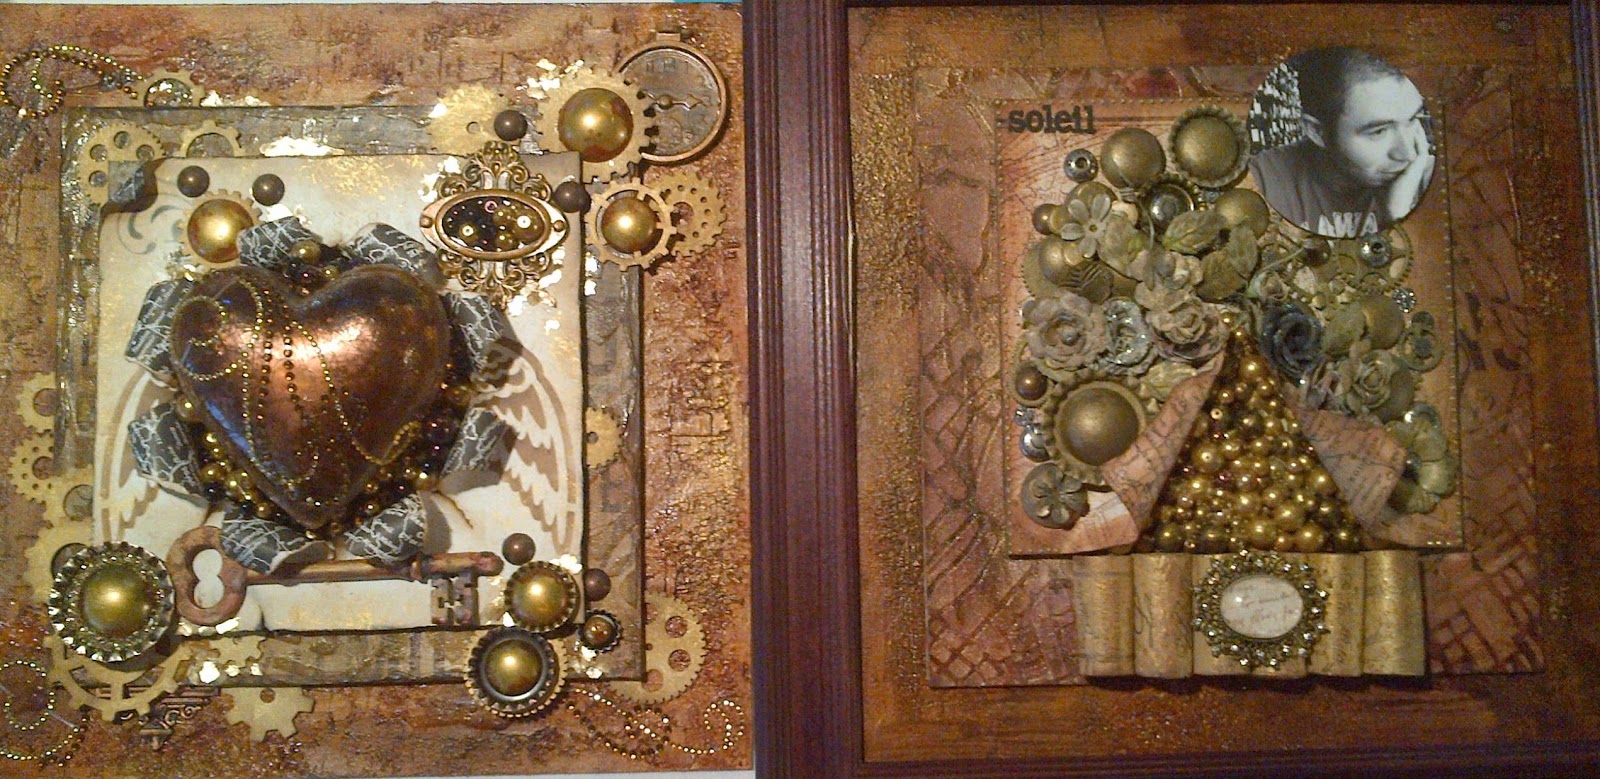
Some of you who know me, might know that I don't like making mini albums at Conventions... Why? Cos they don't fit my photos... So... I set about making a mini album to fit the photos for a recent trip to Johannesburg where I attended an event run by Cariena Basson who hosted Frank Garcia from Prima Marketing.. He taught us the most amazing techniques which we did on a "canvas" of chipboard.
The one on the left is my creation, on the right is Frank's sample.
This is a photo heavy post showing each page and its flip out pages... as well as my step by step cover creation
You could be here for a while!
I have put the album together in chronological order...
The pink paper is from the gift box we received with our names on when we were seated and I added my name tag for good measure...
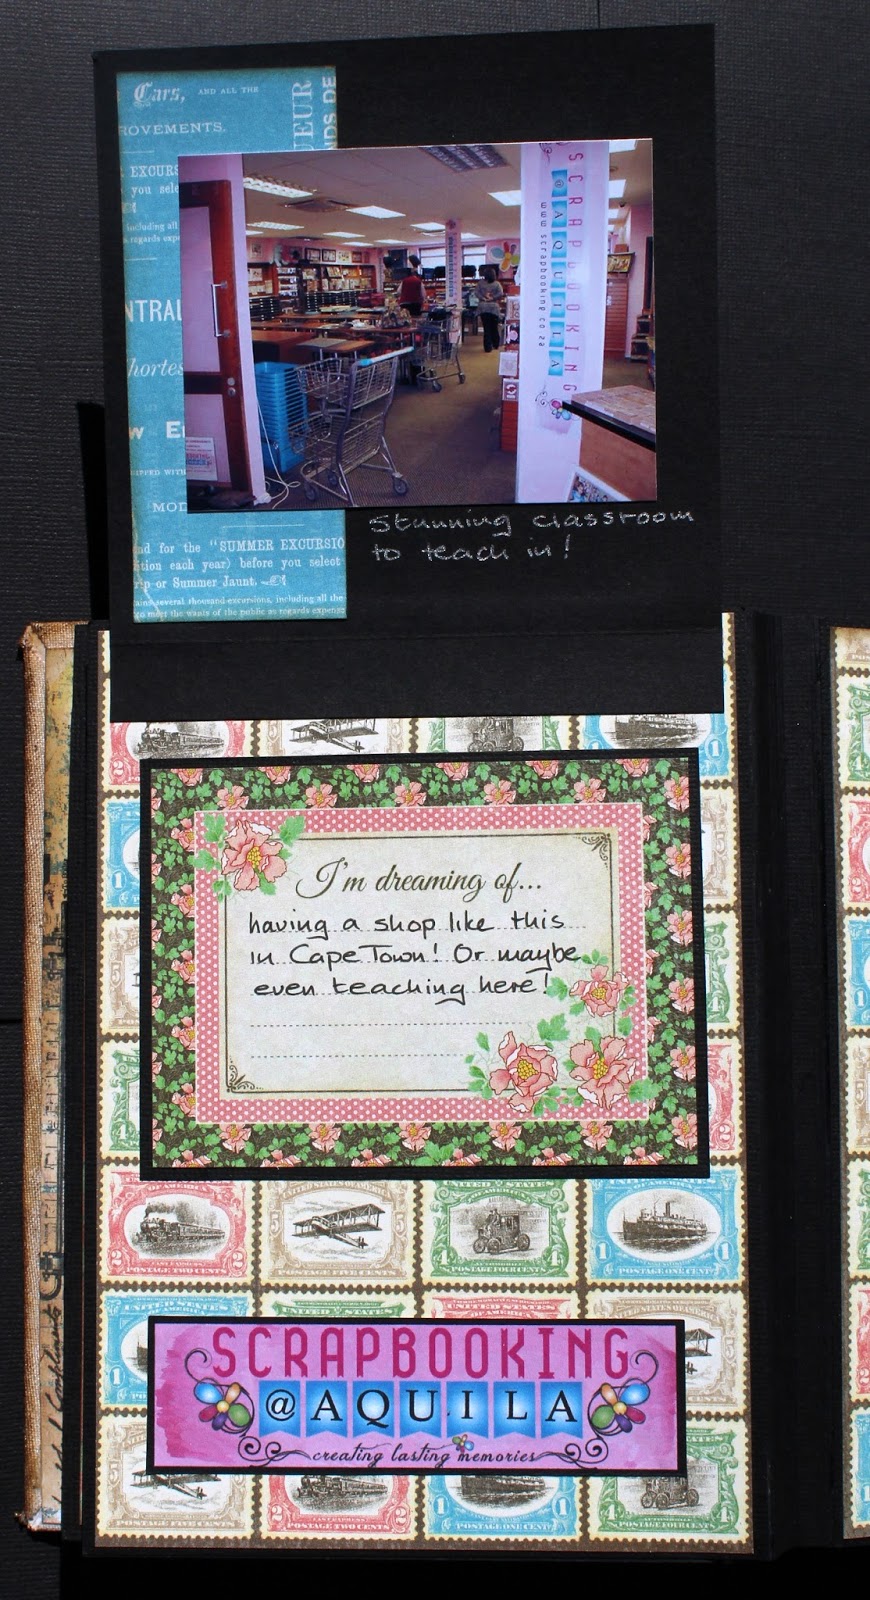
Having flown up to JHB with Jo and Carolyn on the Friday morning, we arrived at Helderfontein and checked in at 1pm. Jennifer met us at reception and introduced us to our driver for the afternoon called Rocky! He took the 4 of us to Pretoria to do some retail therapy at Aquila followed by Scrap a Doodles.
I could get used to this chauffeur driven lifestyle!
This was the MOST amazing store, it had so many products all beautifully displayed.
You know you are in trouble when they supply you with a shopping trolley at the entrance!
Lots of flaps on this page.
Lots of pages to open here too...
Jennifer then kindly entertained us for the evening in her home where her dear hubby organized cup cakes and pizza. I started with a cup cake of course!
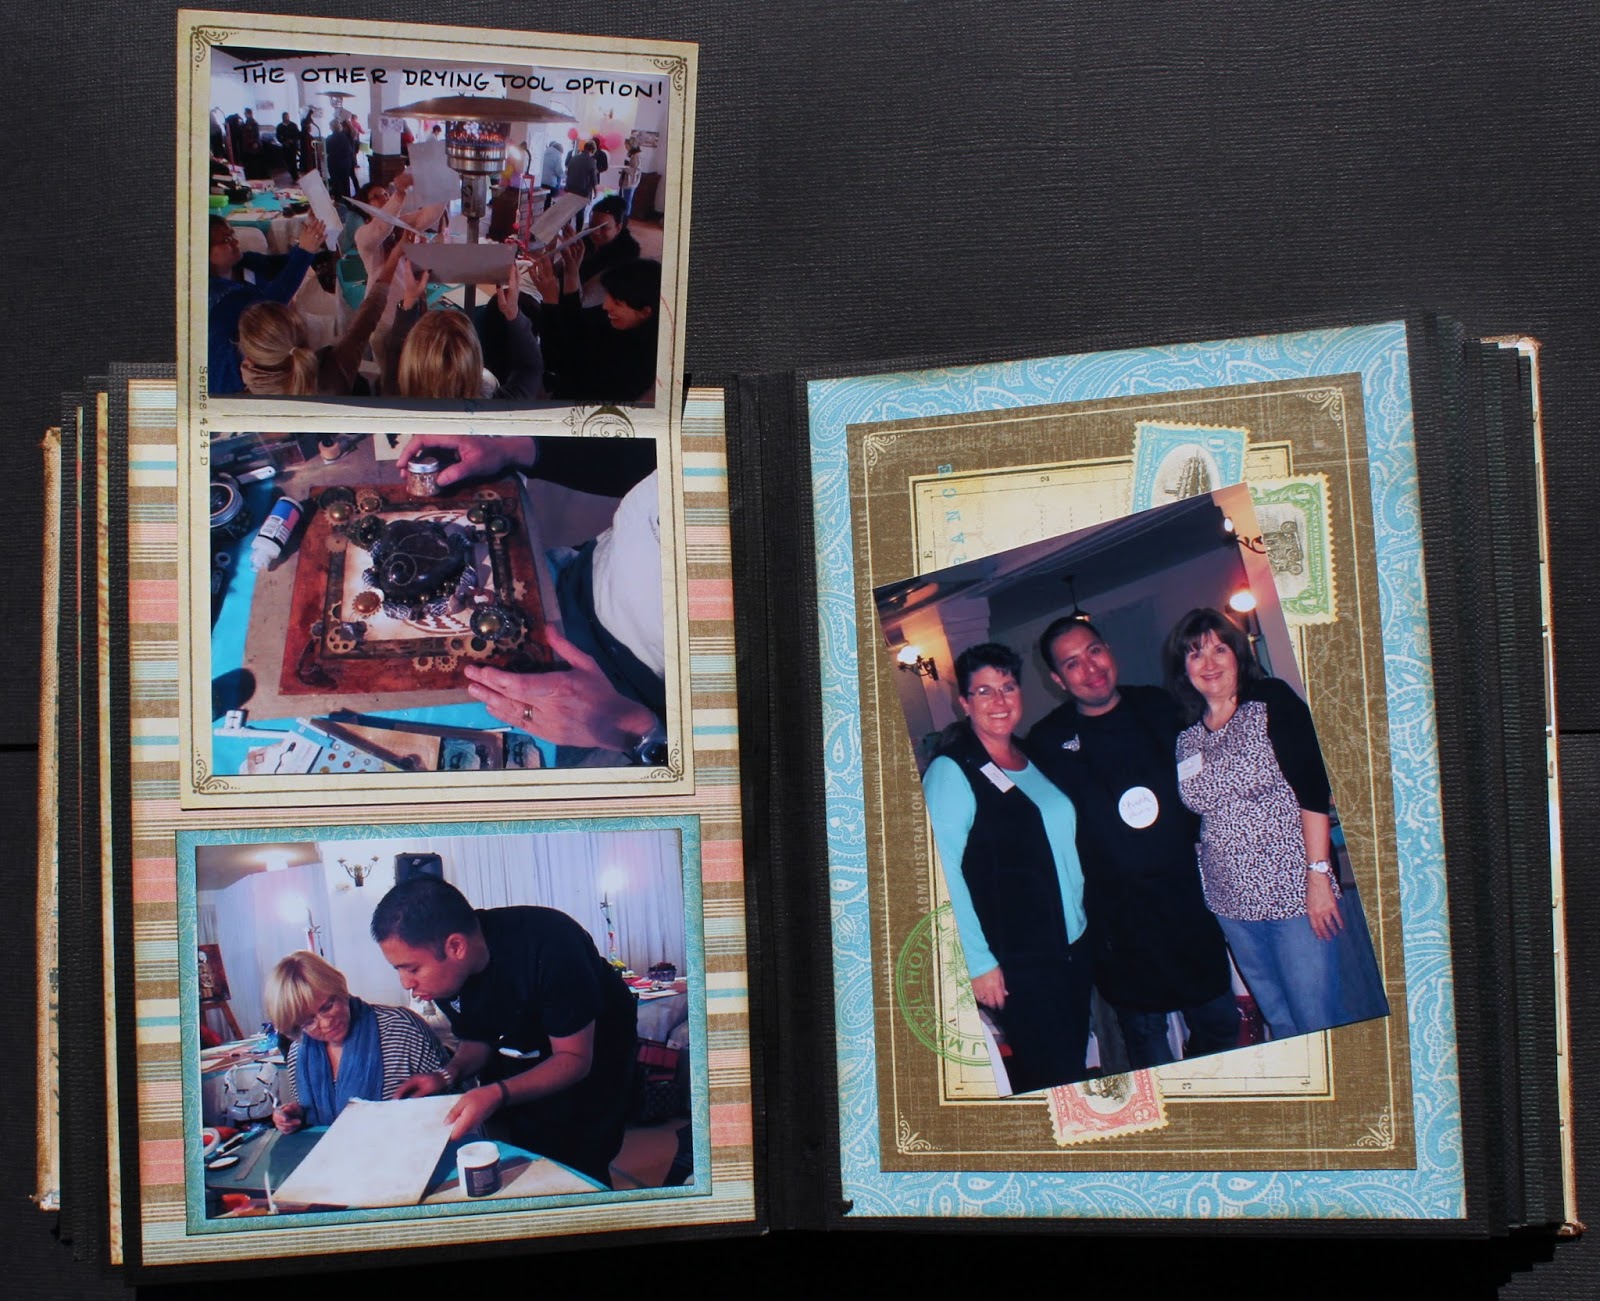
Our day with Frank Garcia began with us all taking photos of each other taking photos!
Open the flap and here we are again!
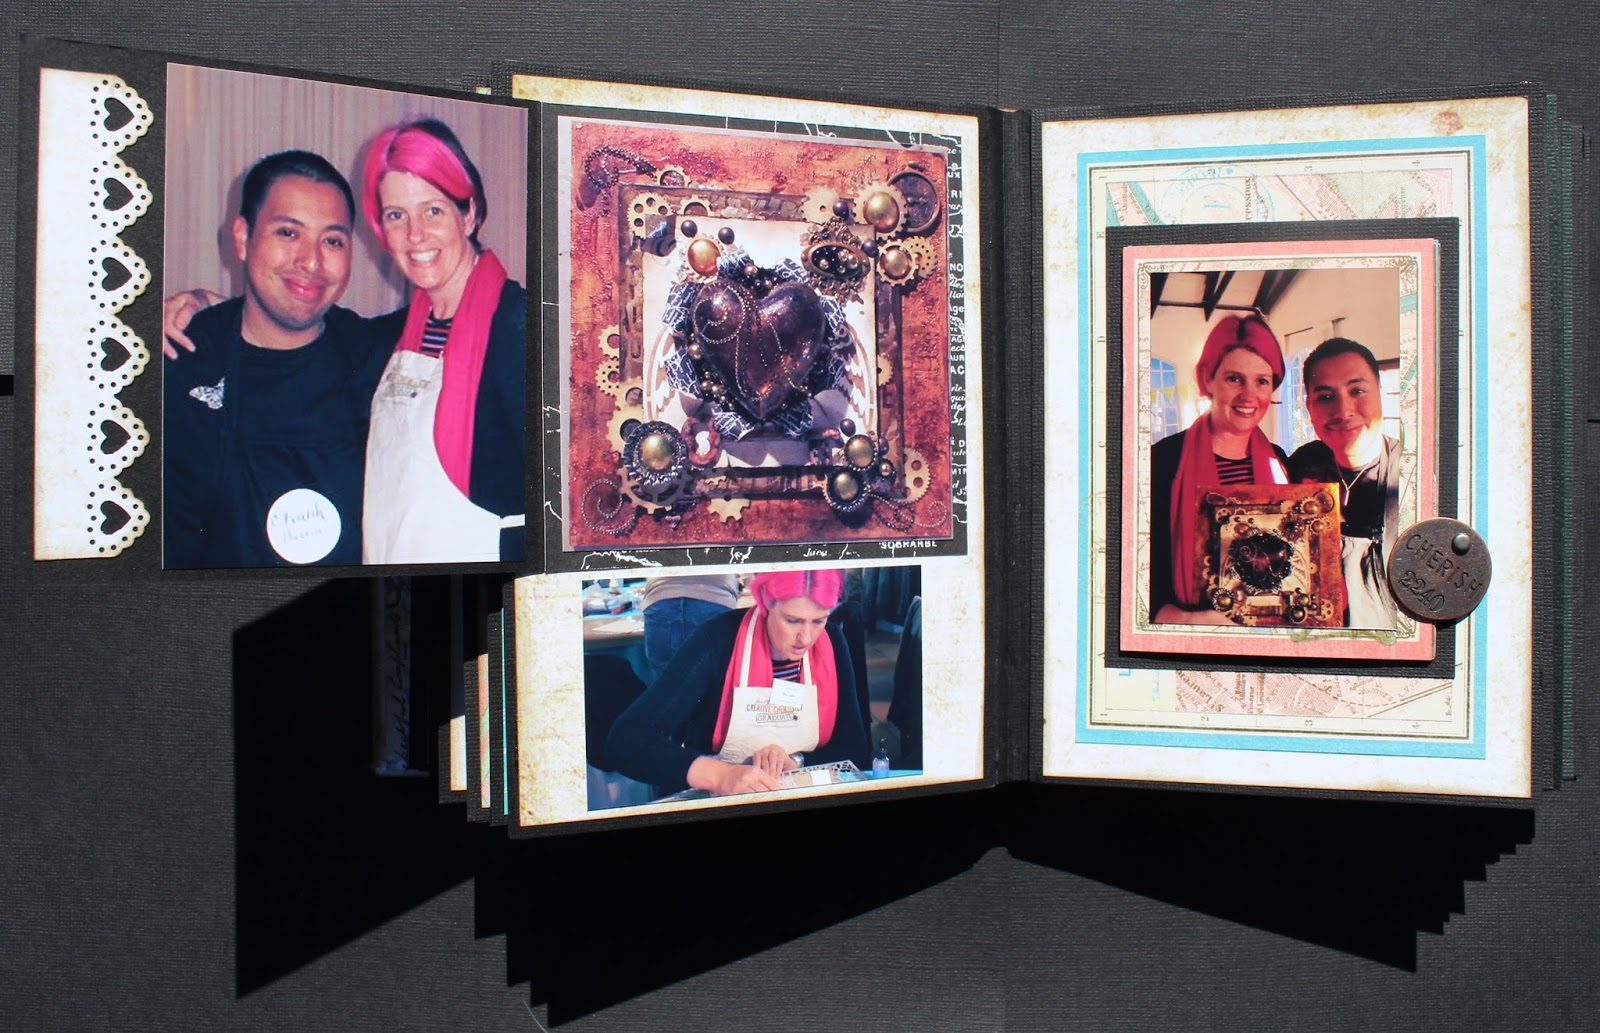
Below is Frank Garcia, Cariena Basson the organiser extraordinaire and Franks friend Janel who came to assist with the class.
This was our table together with Linda King who I met on line and was so nice to finally meet in person.
Above is Frank's project and then you open a flap to see my version which was quite different.
Opposite the projects is a flip, flap, flop set of pics all held down with a charm from Tim.
Here is Frank helping students and standing with my friends Jo and Carolyn
You might have to click on this one below to make it larger. It was freezing and we had a room gas heater going, so some of us used it to dry our texture paste instead of waiting in the Q for the heat guns...
My friend Jen and her trolley called The Beast, designed to fit and hold all of her crafting tools and inks etc. She got Frank to sign it.
Then Jen took us off to dinner at Licorish. Where once again I started with desert... by the end of the week-end, I had most people doing the same thing!
The staff here were amazing and we had awesome food and brilliant service. It might have had a lot to do with the great company!
The menu
Sunday morning was icy cold and I had wet hair cos I did not bring my hairdryer due to space and weight issues... so coffee and gloves it was to start the day.
Here is breakfast in the dining room with a HUGE fireplace and fire.
Below is my page in the book by Jowilna as I created it... sort of like hers, but nothing like it really... I bought new papers to go with the colours in my photos and used the stickers and lazer cuts from our gift packs as well as the rope thing in brown which was in the kit we were gifted. I did however use the techniques we were taught, but used them on other shapes and with different embossing folders. So you see... it is same same, but different! Jowilna's layout is the 1st birthday seen here.
I decided not to do Cariena's Get Away page as I wanted the papers for this album. I have used every little bit of her kit in this book. There are very few tiny scraps of paper left over. I also used the time to pack my tote bag like a jig saw puzzle cos I was traveling back to Capt Town that night with only overhead baggage and I had a lot of shopping to fit in with my kits and my clothes...

This is the final page with me on the plane, having evaded the overweight baggage police...

This is how I made the cover...
I decided to use the same techniques learned in Frank's class to make my album cover and watched a video by
Kathy Orta on how to do the binding.
I created my own cover by using gel medium to glue some fabric over chipboard pieces.
It is upside down in this photo below as I first did the front, then liked how it came out so much that I decided to do the spine and back in the same style.
This is a close up of the stamping I did into the texture paste (local brand by Dala).
Here it has been colored with distress inks and archival inks.
Below you can see the difference before you add the crackle paint on the right and after on the left. The crackle makes it much richer in colour.
To seal it you use distress crackle paint in rock candy
I also put the rock candy crackle paint on the chip board compass.
Then I used the texture paste through the stencil we were given and added random blobs of crackle paint.
Now I am starting to assemble the parts of the front.
I added lots of Prima metal goodness and some lazer chippies all bought in JHB or received in my kit.
This is the back of the cover where I used a Cogs stamp and some crazy crack round the edge.
I used a crazy crack stamp on the spine.
This was truly a wonderful week-end for all the right reasons and I am just loving re-living it through this album. A huge thanks to all who made it so special.


 Here is a close up of the heart area so you can see the detail. The brown shimmer you can see is also a Viva Gold paint called Kakao which I added to the background and to some embellies to create a shadow.
 It has quite a brown/red shine to it once on your project.