Friday, 28 April 2023

Scrapbook page layout with Funky Fossil Steampunk Cat stamp and stencil

Dear Reader

I designed the stencil below so that it was easy to repeat.  You just overlap the footprints from the previous "print" and off you go.  
This is what I did to create this background for this 12x12" scrapbook page.  I trimmed it down so that it could have a nice mat to frame it.
I then masked off the little fish and footprints so that I could create a frame for my photograph.
Next I prepared the stamped images which I cut out on my Brother Scan n Cut and made a shrink plastic charm too.  The wooden gears were sprayed with black soot distress oxide spray.  I cut the square die cut in half to create corners.
Next, I layered everything up and stenciled on the photo


I love a bit of texture and dimension.


Sunday, 23 April 2023

Steampunk Cat Mixed media canvas


Hello dear Reader

Welcome to the first project made with my new range of stamps, stencils and papers!

If there is a link with a line under it, click on it to take you to the product on Funky Fossil's website.

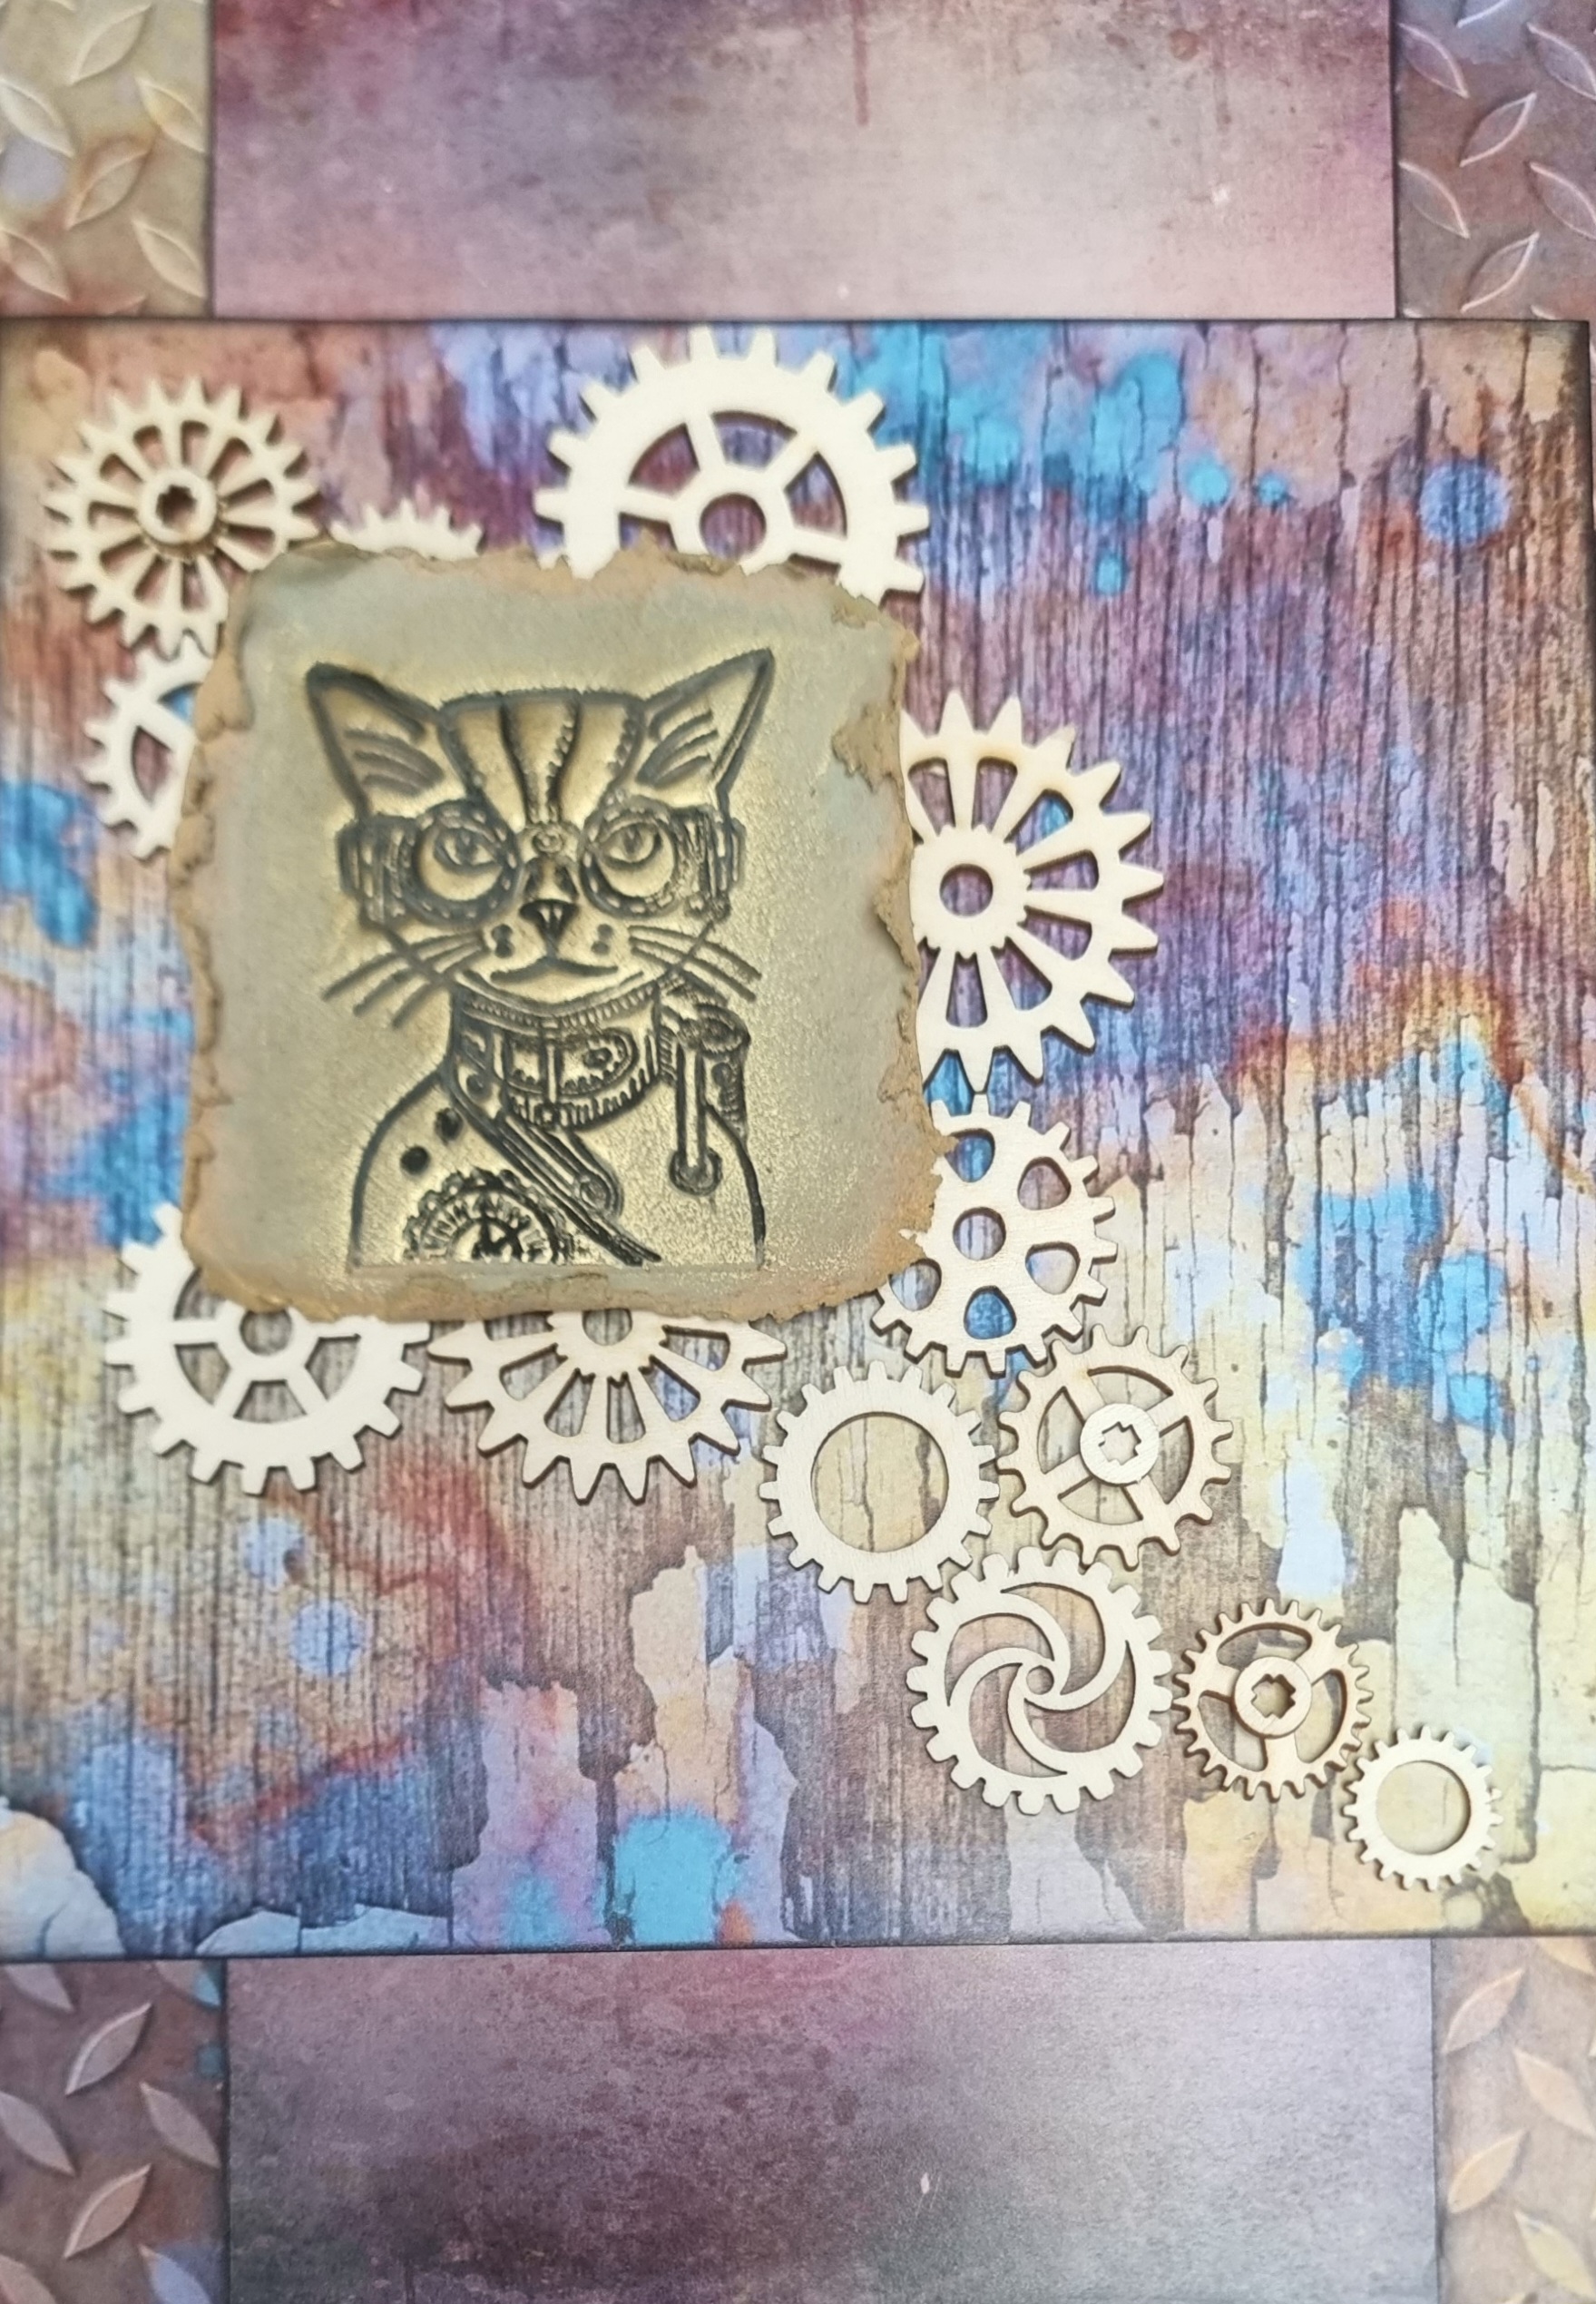
This is a 12x12" canvas that I covered with the 8x8" papers called Engine Room by Funky Fossil.  The pealed paint page in the middle is a full sheet and then I cut the purple one in 4 to fill the sides and the tread plate into quarters to go in the corners.  I inked the edges of the paper with Black Soot Distress ink.
Next I worked out where I wanted the Laser cut gears.
I stamped the cat from Steampunk Pets into some Hearty Clay, tore the edges, curled them over and let it dry.  Then I added Distress Oxide spray in Brushed Corduroy and filled in the line work with black paint.  When that was all dry, I rubbed gold wax over the top to bring out the details. (I was having so much fun doing this that I forgot to photograph the step out progress - I will have to do a whole post on this process another time)
I sprayed the wooden gears with Black Soot distress Oxide and let them dry.  Once I glued everything in place I added glossy accents where I wanted the giant micro beads and then finished off the gears with the half pearls in 2 sizes.
I also added some black soot distress to the edges of the clay.
Below is the finished canvas where you can see that I used the gears mask with black soot distress ink on the 4 purple pieces to add extra interest.


Thursday, 20 April 2023

Steampunk Menagerie designs for Funky Fossil UK

I am so excited to announce that Sarah, the owner of Funky Fossil in the UK has invited me to join her team of designers!

I have come up with some steampunk pets and farm animals as my initial 2 stamp sets and then made some generic stencils to go with them as well as 6"x6" and 8"x8" paper pads with background themes called Engine Room.  There are 3 washi tape rolls too, which are winging their way to me as I write... so no samples of the washi just yet.

Over the next few days and weeks, I will be posting projects with step out photos and instructions.

They launch on Create and Craft today at 5pm BST

I have stenciled these in Glamour paste 
The next 3 are stenciled with distress ink and then I sprayed the stencil with water after working through it and printed the stencil onto the paper.
Cat stencil above with the fishbone and tiny paw print and the dog stencil below with bones and a ball
Good luck horse shoes and 4 leaf clover below
These are the 6"x6" and 8"x8" papers

Washi tape in 2" and 1/2" wide

Sunday, 26 February 2023

Lady Vagabond catalogues


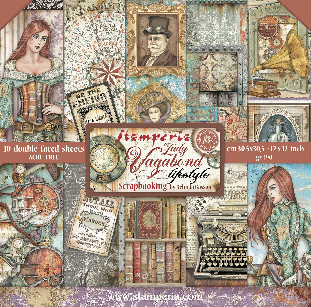
I realised that there is nowhere to see the full lines of both Lady Vagabond and Lady Vagabond Lifestyle... so here she is!


To see the full catalogue, click HERE


To see this full catalogue, click HERE


Monday, 21 November 2022

Reverse box canvas for Mitform Castings

 Hi there

Today I have my inspiration piece for Mitform Castings as their design team member.

I have used a box canvas and reversed it to create a shaddow box.  I fussy cut various pieces from the 12x12 Lady Vagabond papers and used the Mitform pieces to finish the composition.  


Products used:
https://www.mitform.com/produkt/mitform_set_wings_2/
https://www.mitform.com/produkt/globus-earth_globe_ste/
https://www.mitform.com/produkt/balon-balloon_ste/
https://www.mitform.com/produkt/helm_nurka-ste/
https://www.mitform.com/produkt/kapelusz-hat_ste/
https://www.mitform.com/produkt/kompas-compass_ste/
https://www.mitform.com/produkt/kotwica-1-ste/
https://www.mitform.com/produkt/kolo-sterowe-ste/
https://www.mitform.com/produkt/mitform_set_corners_7/
https://www.mitform.com/produkt/walizka-suitcase_1_ste/
https://www.mitform.com/produkt/walizka-suitcase_2_ste/

Saturday, 5 November 2022

Time Machine for Mitform Castings


Today I have a little time machine created from an old clock base I found at a flea market.

I decided not to paint the clock or the metal pieces as they worked so well together in their original form.

There is a little engineering involved in this piece as I had to use a drill to make holes for the hinges and clock hands so that the doors could open and shut and the clock hands could hold them closed when the time machine is not in use..
I found that the 2 half circle pieces that make a full circle fitted the opening perfectly.  I glued the door handle onto the side with the circle and then glued some hinges to the edges.  Finally I drilled holes for the hinges into the clock base.

Next, I glued the steam shape on and added glue to the rim of the top of the clock and added the nice big gear.
I drilled a hole to fit the bolt that I screwed the two clock hands onto in the famous ten to two clock hand position... used on advertisements for clocks and watches to make it look like it is smiling.
Now the clock hands hold the doors closed when you are not using it.
and can be swung upwards when you want to put the light on inside and see Lady Vagabond in her music room.

I put paper on the floor and walls 

Tin foil on the roof to help reflect the light and added lights with double sided tape.
Now you can see Lady V nicely inside.


The items I used can be found here:

https://www.mitform.com/produkt/mitform_set_corners_3/

https://www.mitform.com/produkt/mitform_set_gear/

https://www.mitform.com/produkt/zawor-valve_1_ste/

https://www.mitform.com/produkt/mitform_set_clock_4/

https://www.mitform.com/produkt/mitform_set_clock_3/

https://www.mitform.com/produkt/mitform_set_scale_1/

https://www.mitform.com/produkt/mitform_set_scale_2/


Friday, 21 October 2022

Advent Calendar for Mitform Castings


This is my creative team piece for Mitform Castings... It is my dream advent Calendar full of Mitform metal pieces.  Well... one can make wishes... can't you?
I have used a base from a shop called Action and I removed the laser cut design from the center and created a new one using Lady Vagabond 8x8 paper and the 3D fireplace from the kit.