Sunday, 20 October 2019

Steampunk Finnabair Canvas with Mitform Castings metal embellishments


I recently won a parcel of Mitform Castings metal embellishments on an Instagram post.  So I have been plotting to create a project worthy of their use!  You know what it is like when you have something precious... You keep it for THAT special project that never comes around...

To avoid these delicious metal pieces from forever living in a box I created a canvas just for them!

I had also recently been to a craft expo here in Berlin and purchased some Antonis Tzanidakis stencils and wanted to use them too... they were all shiny and new... still in their packaging!

Coming from South Africa where post is not the most reliable way to receive anything (think affirmative shopping)  ie Theft...  Online shopping is not a thing...

Having recently moved to Europe, I can now shop on line and know that the stuff will arrive in one piece and on time!  So I had purchased the Finnabair moulds with the wings and the cogs last month and needed to use those too...

With all these exciting new "toys"  I spent the day in my studio yesterday blissfully creating away!

My inspiration was this project found on Pinterest by Antonis Tzanidakis:  I loved his colour usage here
"Adventure" New adventures in your life are always welcome..anyway what we could do without that..☠️☠️ New materials, new techniques and ideas..and as always Dusty Attic chipboards.. New class for 2019

Here is my project:


I started with a black canvas 30x40cm and stenciled the design in the background with Wendy Vecchi texture paste in black.  When this was dry, I set about designing my layers of Mitform Castings metal embelishments and the Finn items I had moulded with poly urethane.

Once I was happy with my design, I glued it all down and sprayed the whole canvas black with matt black spray paint... I like this option as it does not leave brush marks and gets into and under all the the grooves of the various layers.

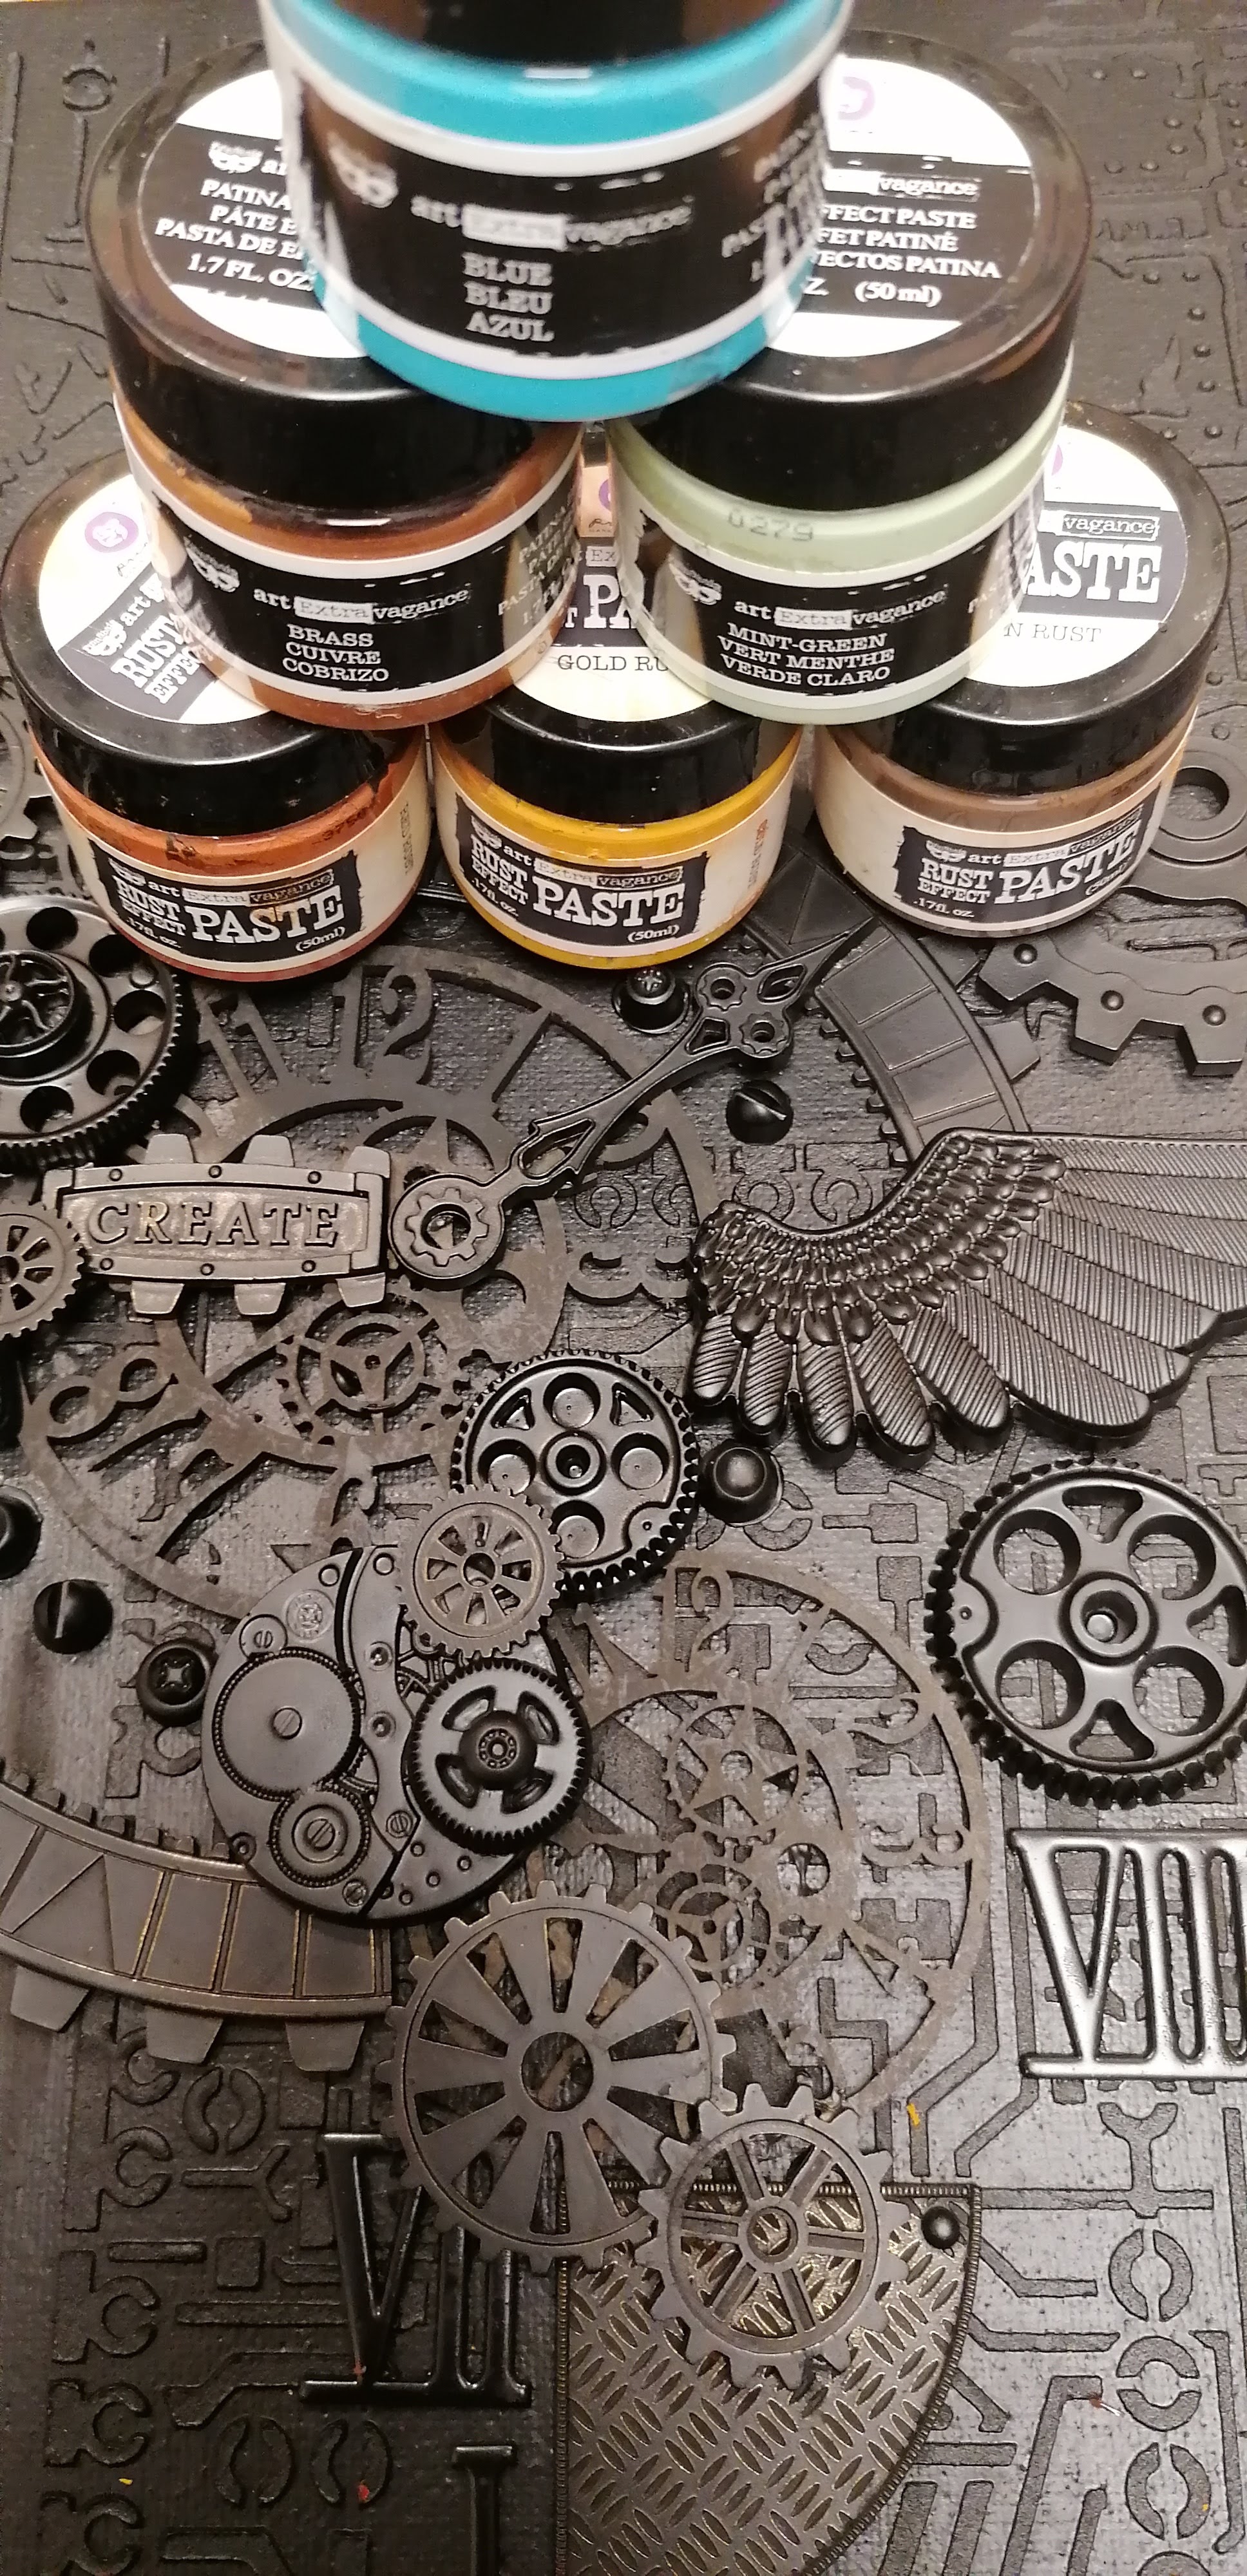
I took out the Finn paint sets for rust and Patina effect pastes as well as her Ginger Magic Sparks acrylic paint.  For some deeper colours, I used some normal acrylic paint in Indian red oxide, burnt siena, umber and black.


Above, you can see the first layer of burnt siena ... then I got engrossed in my project and forgot to take photos!

In the photo above you can see the turquoise is quite bright so I knocked it back a bit and added the sparks on the gold rust areas.


Finally I added some ginger sparks to some of the stencil work in the background to link the two as well as some turquoise in the metal embellishments and behind the objects, also as a way to join the foreground and background.


Thursday, 17 October 2019

Frayed burlap distress oxide spray is addictive


I am totally in love with Frayed Burlap Distress Oxide Spray! (FBDOS) for future reference...

I sprayed a ton of things with this stuff and it gives such amazing results each time!

Below you see the finished tags, sprayed at the same time, on the same day next to each other on my craft sheet and they have a very different look.

I started with Finn's crackle paste through Tim's stencils and let that dry overnight.
I then sprayed them with FBDOS and added a spritz of water.
 You can see here how different they each are, the one below had far more blue on it when it dried.
I used my Dymo for the wording.

Decided on a wishbone for birthday wishes...

I drilled a hole using Tim's drill, seen above so that I could put a jump ring through it as seen below.

After adding Ground Espresso distress ink to the tags as well as some metal embellies and tissue tape with some stamped die cuts, I called them finished!

To make this tag more "girly"  I added some Finn Opal magic wax

Friday, 4 October 2019

Steampunk Christmas tags


I used 4 Snip Art laser cut tags

Tim Holtz grit paste was pushed through a Unique Hobby Products stencil which I purchased at the craft fair recently.  You can go online www.hobbyproducts.nl to see what they have.

I scraped the grit paste on thinly so that I could level it with the top of the plastic of the stencil

I did an experiment with some rusting powder on the far left tag...

Being the control freak that I am... I did not like the randomness of the rust outcome...It did not match the other 3 tags in my set...
So I painted it to match the rest of the tags using Black, Ochre, Burnt Siena and Indian Red Oxide acrylic paints
I die cut green paper with the Festive Greenery die and painted some card stock gold using Finnabair's Vintage Gold Icing paste which I then die cut with Tim's Christmas Ribbon and Vintage Noel die.  The noel got run through the rivet die and I aged it with black acrylic paint.  I also cut 25 from the Christmas Bells die and passed it through the rivet folder and aged it to match the metal embellishments.

The gorgeous steampunk metal embellishments are from Mitform Castings and I added some Burnt Siena in the steam gauge to make it stand out a bit and relate to the background too.


Tuesday, 13 August 2019

Finnabair inspired Steampunk canvas with Snip Art chipboards


Its been a while since I was at my desk creating...  I was inspired by a recent acquisition of Snip Art Chipboards and some Finnabair molded items as well as some clock hands that I purchased at a vintage market. 

The photo above is my finished canvas, the photo below is how it started out!  

I first took out all my chipboards that I thought I might use, as well as the laser cut clock faces I was gifted.


I set about laying everything out how I wanted it... then the painful part of gluing it all down... I used the 3D matte gel...this is not my favourite part of any project, but taking a photo of it before I start helps as sometimes you have to lift off so many things to glue the bottom item, that you forget what you had where...

The photo below is of the glue drying... once again I have to leave the studio or I want to start painting it... this just causes frustration on my part if I do start painting, as the parts move around until the 3D gel has dried...

Finally the glue was dry and I could gesso the whole thing


followed by adding some black paint and spraying it with water so that it settles in the hollows...

I added some vintage photo distress paint as I was heading towards a rusty look...

but changed my mind when my eyes fell on my Sparks paints...  so I used Ginger Magic and Raven black together with Brushed Iron Metallique Wax for highlights.

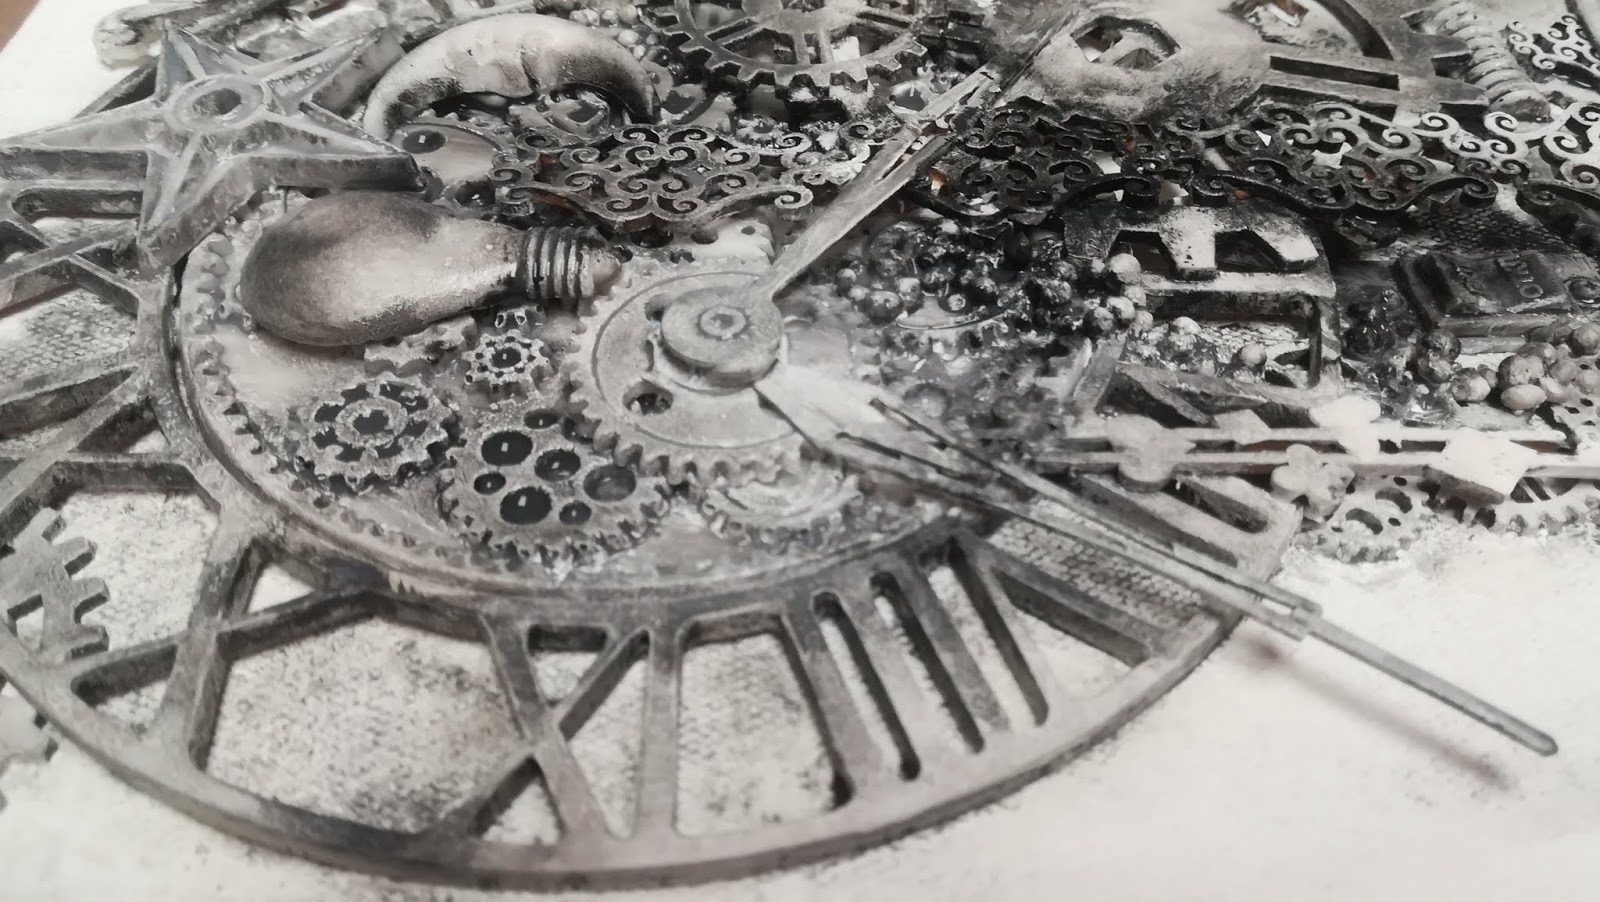
Here is a close up of the finished canvas

Friday, 7 June 2019

Studio move and make over

In December of 2018 my hubby got an offer to transfer within his company from Cape Town, South Africa to Berlin in Germany.  He had to be in the Berlin office on 1 April!  (no Joke :) The major thing was that we opted to take my aging mother with us so this entailed selling our house, her house and packing up our house after being in it for 17 years and her house after she had been in it for 39 years as well as my teaching studio which I had run for 20 years!  Oh and selling our 3 cars between us!  That was a tall order, but we managed it and flew out on 25 March 2019!

Fast forward to May 2019 and we had managed to find ourselves a 100m squared flat in a nice area close to my son's school.  The flats here are seldom more than 3 bedrooms in the city itself and we didn't want to be on the outskirts of town as we are using the public transport system to get around.

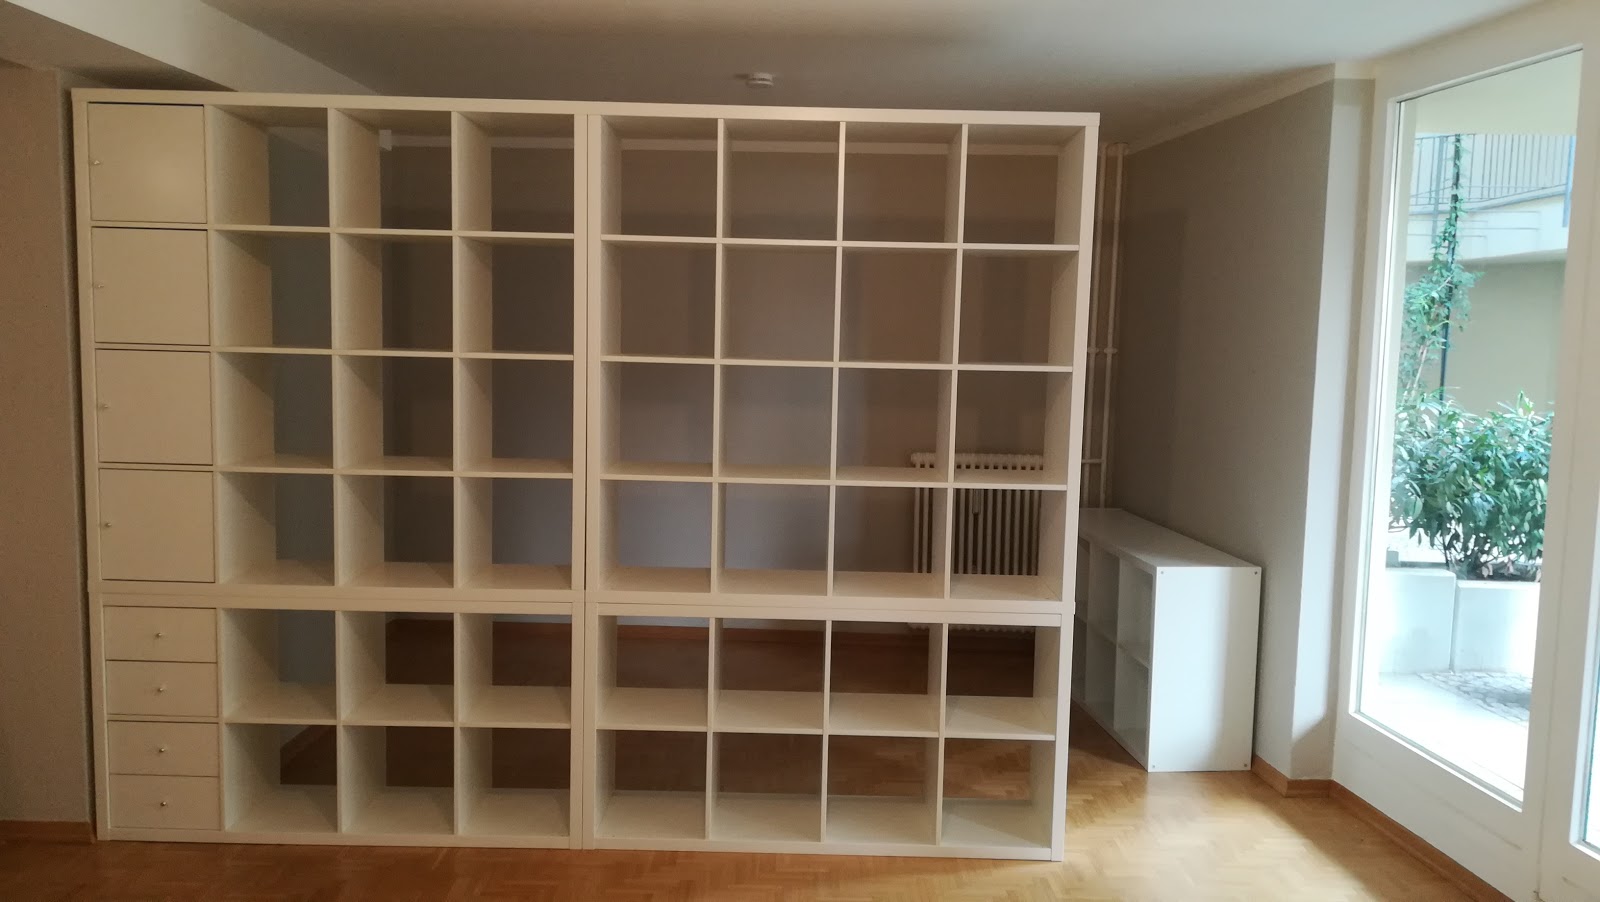
The photo below is a section of our lounge dining area.  I have managed to make it work as my new studio space.  This will be where I create, be it art, craft or mixed media.

I have become great friends with my tape measure and have the floor plan of Ikea ingrained in my brain as I have been there so many times for so many different things!
The tape measure marks off where the Kallex units will end.  The total studio space is 2.5m x 3.5m .
 The Kallex units in place ready and waiting for my stuff to arrive.
 8 May and our container arrived all the way from Cape Town!  I was so excited to see it again!
 Thankfully we have a patio area where we could store some boxes while we got organized inside.
 I just stuffed the boxes I had used in my Cape Town studio into the Kallex unit to get the stuff off the floor!
 I then went back to Ikea to get their boxes that fit the Kallex unit and slowly sorted my stuff into these huge boxes.  They really "swallow" stuff!
 I would unpack a box onto my drop side table and sort it into the Kallex.  I used masking tape and a koki to mark what was in each one.  I still need to make proper labels for them, but am still deciding on what I want them to look like and am also still reorganising some of the stuff that I put in them.
This is what the studio looked like on the other side of this wall...
 Then I set up my folding table and moved my paper storage cubes.
 I had been given these cubes by a friend who was moving house a few years ago and always meant to paint them, but was too impatient to move my paper into them and so I never did.  To quote my Dad "There is nothing more permanent than the temporary"  So before this became the same situation here in Berlin, I went of to the local hardware store and got some white paint.  It was a tedious task, but quite meditative to paint inside each shelf.

Here they are stacked in their new home.  It makes such a difference to how my small space feels.  They are no longer dark and imposing.
After painting the paper cubes, I got hold of the printers tray given to me by the same friend.  Back in Cape Town, I had sprayed it with 4 cans of black spray paint, but ran out without doing a perfect job.  I am now sitting below this unit which was on a different wall in Cape Town so I hadn't looked up into it before.  It doesn't help that here there is no overhead lighting yet, so the floor lamp exaggerated the awful paint job I had done.   Below you can see where I had painstakingly painted some of the rows black with acrylic paint and a brush.  Yes... more meditating....
 I got hubby to put the die storage up on the wall and then my printers tray as well above my desk.
 I then set about unpacking more boxes of stuff into all the shelves.  You can see there is still so much stuff on the floor that needs to find its forever home...

I also went back to Ikea to get some drawers to put under my desk.  At this stage, I am still using the folding table as my desk, till I find what I need.  I just folded the legs into the table and balanced it on the two drawer units.
 It took an entire day of unpacking and putting things away before I could see both my desk and the floor!
 I brought all my B's with me as well as the words that I had above my desk before.  Basically, I have crammed 2 studios worth of stuff into the tiniest corner of our flat!
 I still have all my steampunk stuff in the plastic storage containers on top of the Kallex unit.  I kept the stamps in the drawers I had had them in in Cape Town and each one gets its own cube with a giant art book!  The black and white boxes will stay, as these were purchased for all my art materials back in Cape Town and they are really pretty.
 To the right of my desk are my two trolleys.  The one has crafting stuff and the other, art materials.  Its nice to be able to roll them around to where I need them.  
 In winter, I will need to find another place to store my art trolley as it is in front of the radiator.  Something I have never had before!
 Here you can see the space without both trolleys.
 And back again!
 The white metal notice board from Ikea was perfect for my movers and shapers dies.  This corner is really hard to photograph right now without overhead lighting.
The last major thing I had to tackle was this set of cubbyholes that my hubby had made to fit over my windowsill in Cape Town.  It meant that there was a piece of  "leg"  at the bottom of each shelf that used to sit next to each other, not stacked like this.
Here they are without their extra space and with the pretty Ikea boxes on top.
All I need to do is sort out my labels for all my boxes to make it look even and pretty as well as being functional, so that I can find the things in my boxes.

In my next post, I will show you how I have finished it all off using every last square cm of wall and floor!  That will take me a few days as I still have to sort out the labels etc!