Wednesday, 6 January 2021

How I made my book corset

 Hello Dear Reader

Today I am sharing how I made my book corset.

I was inspired by this amazing dress  by Sylvie Facon when I was designing the clothing for Lady Vagabond.


The trick was to create one for myself without sewing...

I had this black corset in my stash which I had purchased a few years ago with the intention of Steampunking!  So I hunted it down and set about removing all the frills (I am not really a frills person) then started painting it with acrylic paints.

I started with a plain base

Divided it up into "books" by using the bones of the corset to guide me and stated putting in the details like the book ribs and shadows followed by stencils to create the imagery like vintage books.

Of course the Supervisor was on hand to check up on my progress (or slow it down... which ever way you look!)
Below you can see the two side panels are finished and I need to add details to the center panel.
It is quite hard to photograph, so I tried it with and without the ribbons  as it does up with hooks and eyes on the side.

Close ups of the front and back sections.
I created a hat to go with the outfit by stenciling on the hat and then glued silk roses and greenery onto it too.
Here you see the full outfit!


Tuesday, 5 January 2021

Light up Airship Canvas for My Design Team

Dear Reader

Welcome to the first post of 2021!  May the year ahead be a healthy and happy one for us all!

I am starting off the year as the first person to post for my Lady Vagabond Design Team.  I 'm excited to share that there will be a YouTube hop starting on the 15 January and running until 31 January with 5 Pizza box prize winners being announced on Thursday 4 February on the Facebook Stamperia Cafe.

Yes, you read that right... 5 people will stand the chance to win a pizza box filled with Stamperia products by commenting "which country and city they live in" on the 9 videos in the hop and liking each video.... as easy as that!

You will be able to see how I made this standing canvas with lights in this hop, but for now, I will show you the photos of the canvas and give a brief explanation.

This is the back in the photo below with the little light switch and battery pack hidden at the bottom right hand corner...

A side shot to see the dimension I created by using fun foam under the fussy cut layers.

In this photo you can see the cardstock gear I cut on my Brother Scan n Cut shining through the rice paper that I put on acetate over the reverse side of the canvas.

As always, I like to balance my project and I have the large airship off the left hand side of the canvas, so I have put the badge off the bottom right hand corner and of course, there are 3 airships to make sure that there are an ODD number of items to keep your eye moving around the canvas.  

I cut a drop shadow for the large airship on my Brother in black cardstock and then added fake drop shadows on the other items on the canvas with some paint.
For the Sir Vagabond little airship, I used a half a Christmas ornament to give it dimension and aged it with Allegro paints to help it blend into the canvas a bit more.  I also put a clear "bubble" over the little clock on his airship under the half ornament for added interest.  In this close up shot you can also see the brads that I added to the lock as well as the drop shadow on the left hand side of the lock.
This is a different angle of the built up airship so that you can see the dimension of the bent paper.

Thursday, 31 December 2020

What a year 2020 has been! In a good way!

Dearest Reader

I would like to thank you for your support over the past year with my sporadic posts followed by your support of my new Stamperia adventure!

For many people 2020 has been a really tough year.  I am grateful that for me it has been one of personal growth on many levels.

I taught myself how to record and edit videos.

I joined the YouTube live hops on Saturdays and made lots of new friends in the hop crew and from the Chat crew who follow us all.

Then I joined the Stamperia team as an International teacher in May and ended the year as one of their designers with my own line called Lady Vagabond.

So for me it has been an amazing year and I am grateful.

May 2021 be a good year for you.  I look forward to sharing everything that my Design team has planned for the year ahead.

Thank you to Olga, Magda, Crea, Katarzyna, Anna and Inge as well as my Mystery Design Team member for creating the first projects with the Lady Vagabond line.

Stay safe and healthy.


Wednesday, 30 December 2020

Guest designer Inge van den Broek for Lady Vagabond

Dear reader

Please welcome Inge for todays post using Lady Vagabond and products by Stamperia:

I used the following products of stamperia

-          Ricepaper: Lady Vagabond White Flower DFSA3083

-          Moulds: Lady Vagabond Fly Machine K3PTA482

              -        Lady Vagabond K3PTA487

              -          Lady Vagabond Belts and Fasteners K3PTA484

-          Old Looking wax Metallic gold K3P15G

-          Mixed Media Glue DC28M

-          Vintage Antiquing Paste Brown KAOLBR

-          Crackle Paste Transparent K3P50

-          Mystik Ink different colours  KAMYST (different Numbers)


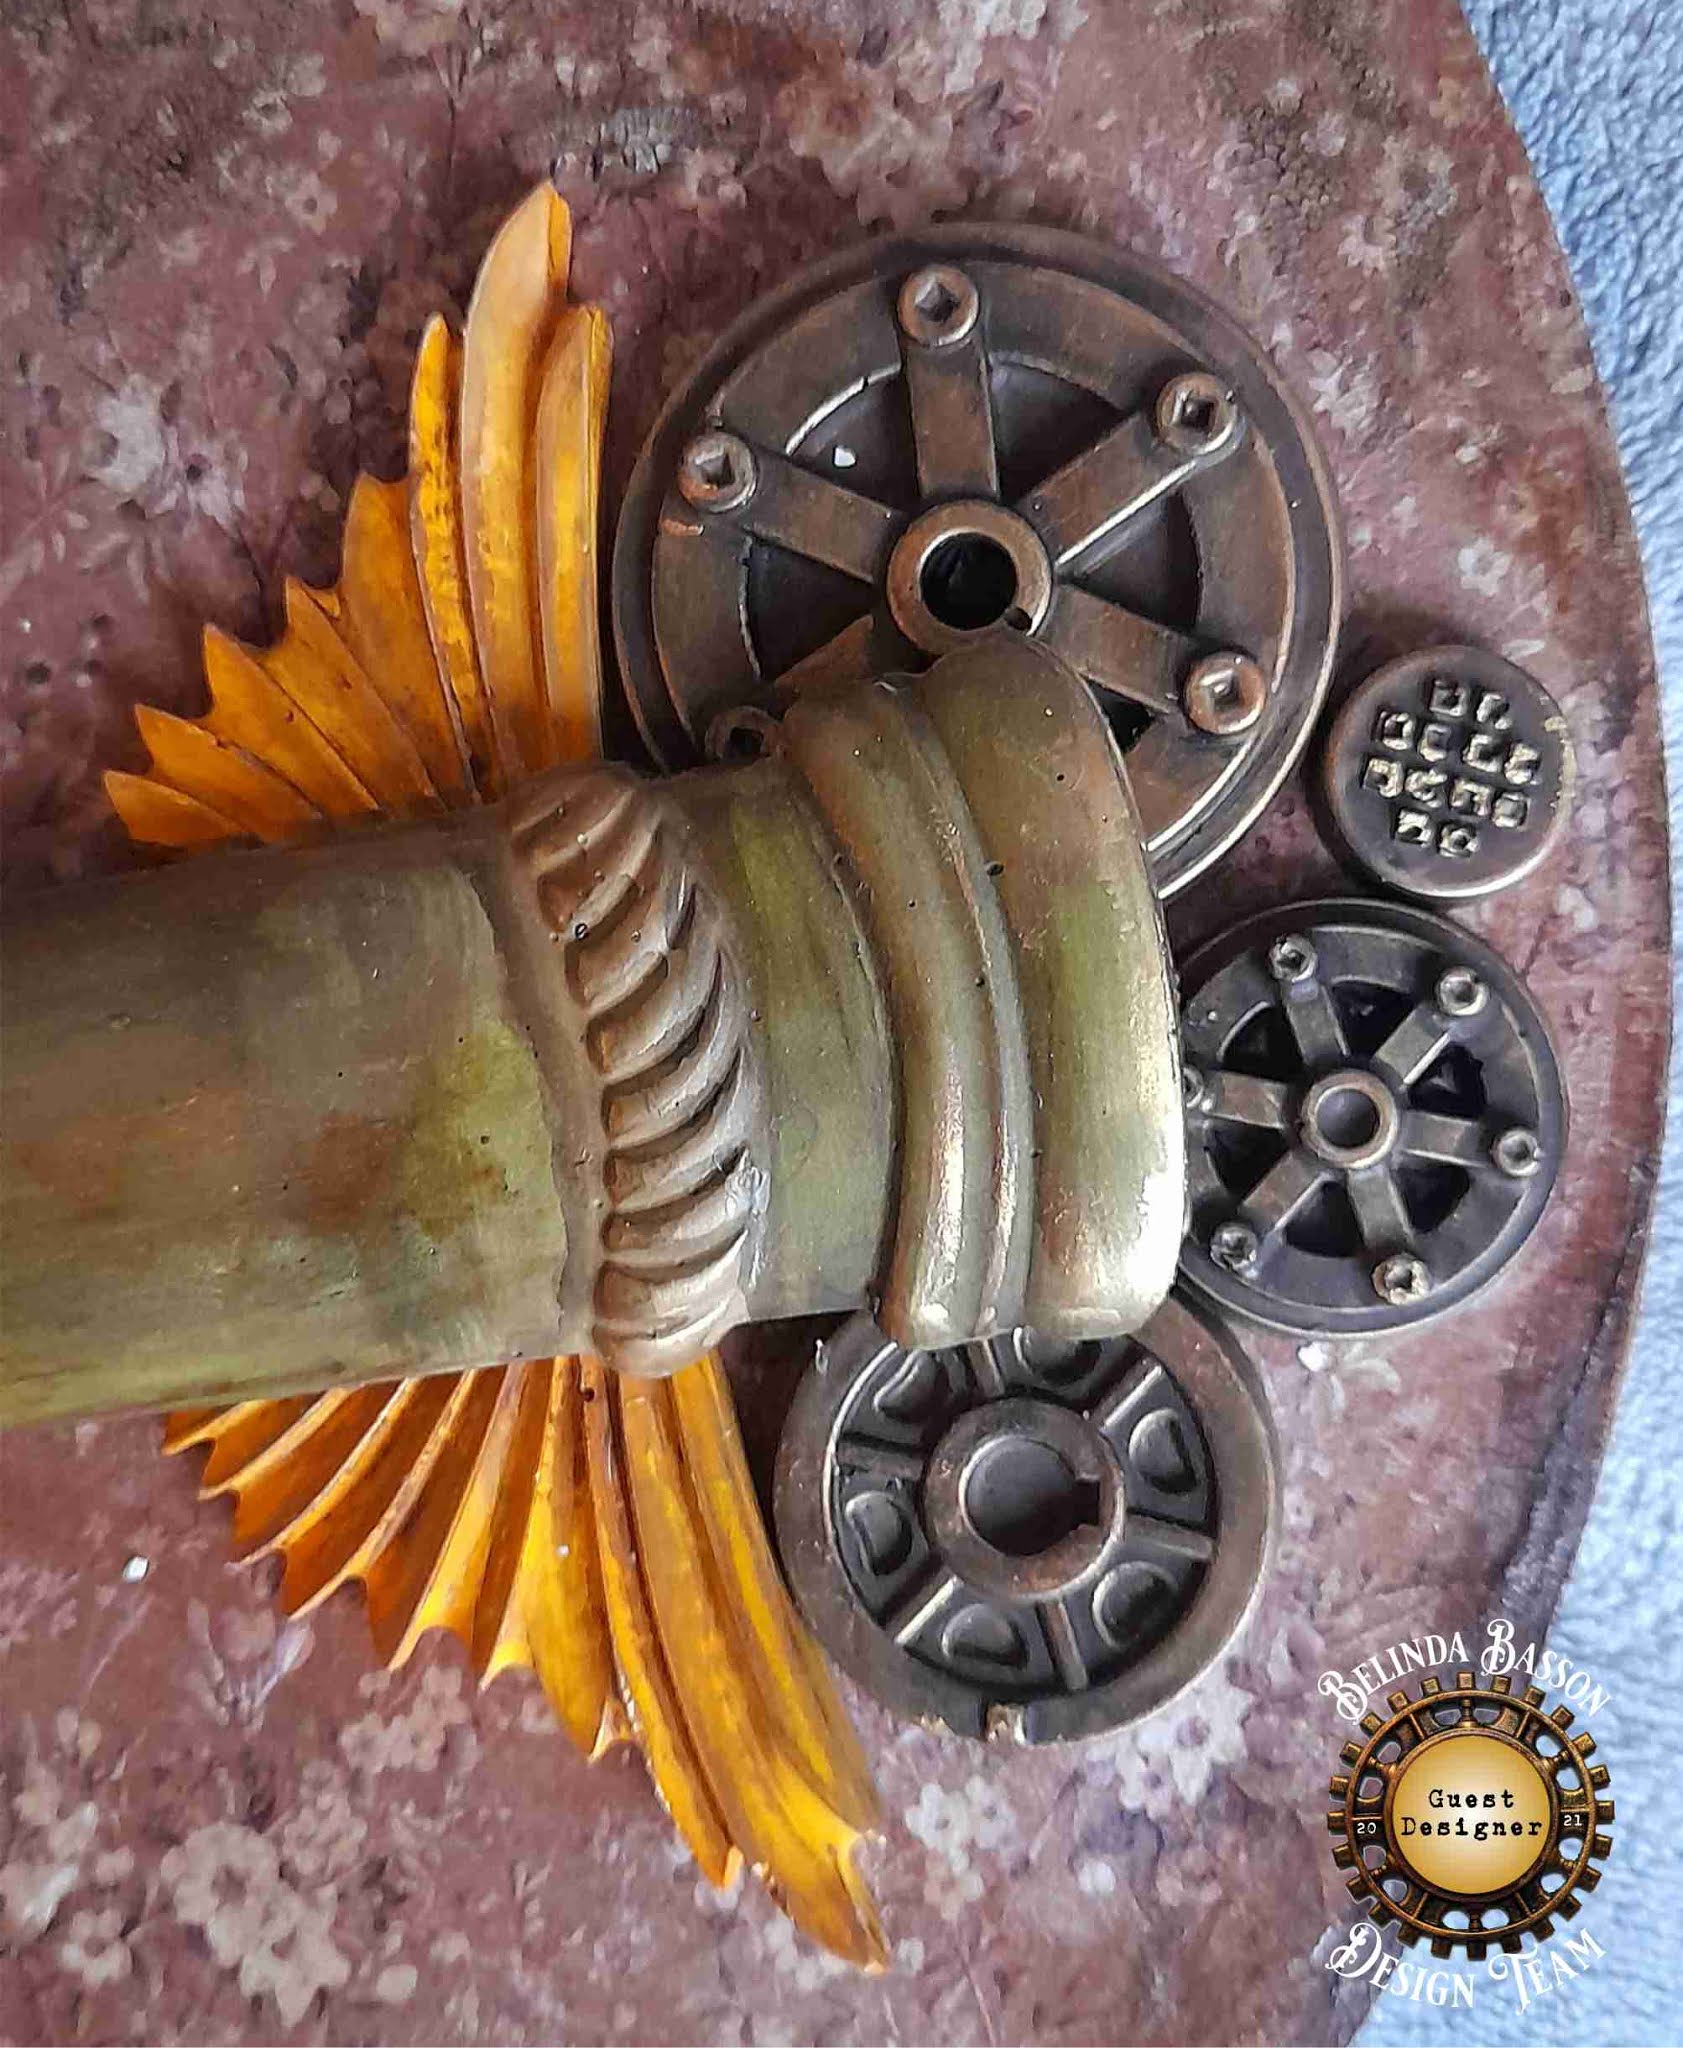
I  started with a round MDF plate, put Mix Media Glue on it and covered it with the ricepaper. After that an extra layer of Mixed Media Glue to protect the ricepaper.

Then I used several soft moulds A4  the Lady Vagabond, Lay Vagabond Fly Machine and Lady Vagabond Belts and Fasteners. I painted them with different colours of Mystik Ink and Alcohol Ink. A technique I saw Belinda doing and since then I love this technic and use it a lot. Thanks fort hat inspiration!

I then covered it with Old looking wax metallic gold and the Vintage antiquing paste to give it that extra vintage look.


On the ricepaper I put some crackle paste to give it an old worn look and a bit of gold wax and antiquing paste to highlight it

Of course the supervisor belongs in here too. So I put him high on top of the suitcases he sees everything.


Tuesday, 29 December 2020

Guest designer post by Katarzyna Charlak for Lady Vagabond

 Dear Reader

Here are some really gorgeous Artist Trading Cards (ATC) made using the Lady Vagabond papers.

Artisits Trading Cards are always traded and never sold.  Traditionally they measure 2.5 inches by 3.5 inches.  People from all around the world collect and swap them.


Guest Design Team post by Anna Korszewska for Lady Vagabond

 Dear Readers

Today I have this wonderful little suitcase by Anna for you to enjoy!  She has used the paper to decorate the suitcase and the chipboards as well.


Tuesday, 22 December 2020

Guest Designer Crea Red for Lady Vagabond

This is Crea's explanation of how she created this beautiful cover on her spiral bound book

I used an album as my playground. 

I started by stenciling with stencil Lady Vagabond Luggage code KSG455 on the
back and front of the album using texture paste.

Then I painted over the top of everything with gesso mixed with Allegro paint Turquoise, code KAL25
(The photos don't show the blue tint in the paint very well)

I highlighted with Metallic Bronze code: K3P15B

I used the soft mould A4 Lady Vagabond Fly machine code: K3PTA482 
painted them with Allegro Orange code: KAL08 and the skelet with the Turquoise. 


Over the top of the painted moulds, I used the Vintage Antiquing paste from Antonis code: KAOLBR
Then I painted the gear with the Gesso and Allegro Turquoise mix to match the cover and did the same technique 
Highlighted with Ancient wax black silver code: K3P15M


To finish off, I put some sparkles burnt umber code: K3GGS04 and Sparkling blue code: K3GGS12 

Thursday, 17 December 2020

Guest Designer Magdalena Karasinska for Lady Vagabond


Magdalena Karasinska is the guest designer for Lady Vagabond today!  She used the chipboards to decorate the paper hat on which she stenciled the floral motives using stencil KSG454 with the door.


Tuesday, 15 December 2020

Secret Design Team Member - Guest post

Dear Reader

Today I have this gorgeous card from my secret Design Team member who can only officially join us at the end of February 2021!

However, they have joined in the December launch fun by creating a guest post using the Lady Vagabond paper and chipboards!

I love the way they have put a genuine eyelet in the tiny tag and added a piece of string.

Their attention to detail and interesting layers of papers which they have fussy cut beautifully is a real feast for the eyes!

Thursday, 10 December 2020

Olga Heldwein - Design Team Member Post


Hello Creative people !!!


Its my very first inspiration for (I cannot still believe I say that ) Beinda Basson Creative Team . I have an honor to be first team member featured here.


As my very first inspiration I made an Ornament. It could be used the whole year around as decor, but I have made mine with Christmas in mind.

For the base of my project I used Stamperia Soft Clay and  formed some beads and T-shaped base. Then I covered it with paint to give it some color and a nice contrast to the resin casts. The gold looking beads are Clear cabochon glued together with gold leaf between.

To stick them together I Used crystal Resin.

All other elements are resin casts gilded with gold flakes.

I'm absolutely in love with all Lady Vagabond molds. There is SO MUCH DETAIL in each and every single one of them . They are steampunk themed and I just cannot pass by anything steampunk.

The Ornamental parts on my piece are made from parts of key moulds cast in resin ( If you cut them apart just after curing while resin is still soft you can get seamless cut)  For the silver accent I have used snowflake clear resin cast  treated with Mirror Effect paint on the back so it looks super vintage and reflective.

Wings took a little bit of fuss as I ran only skeleton using resin in the very deepest area of my mould and after gilding I stuck on  rice paper and covered with resin.

To add final touch I used my beloved patina Ombra.

Overall the whole project turned out better than I expected and ornaments like this would be very cool last minute Christmas makes if you have some time for Crystal resin to cure.


Written by:  Olga Heldwein for Belinda Basson Design Team

Products used :

Soft Mould A4 Lady Vagabond fly Machine

CME Code: K3PTA482


Soft Mould A4 Lady Vagabond keys and locks

CME Code: K3PTA485


A3 Rice paper packed Lady Vagabond clock and mechanisms

CME Code: DFSA3084

Soft Mould A5 size Snowflakes

CME Code: K3PTA556


Soft Clay 80 gr. white

CME Code: K3P58


507 Home Deco Soft Color 110ml - Arsenic

CME Code: KAH08

508 Home Deco Soft Color 110ml - Water green

CME Code: KAH09


Gilding glue 80 ml.

CME Code: DC02


Gilding foil - gold

CME Code: KER01


Crystal resin 1:1 100ml. (50/50)

CME Code: KEN13


Mirror effect 20 ml.

CME Code: KE44